
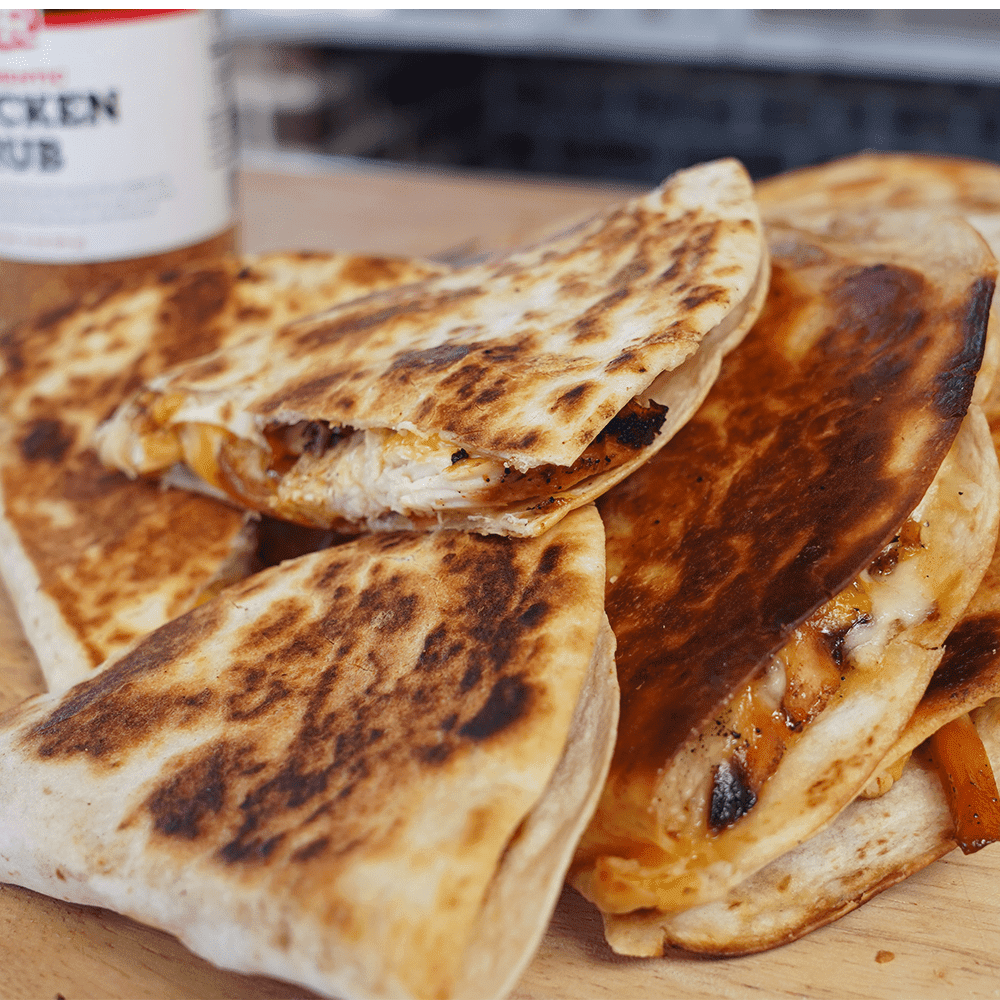
I've got you covered if you’re looking for a simple yet filling meal. My Cheesy Chicken Quesadillas come together quickly but taste like they’ve spent all day on the grill. These quesadillas are fajita-style with beautifully seasoned meat, gooey cheese, and juicy grilled veggies.
This is the perfect main dish for Cinco de Mayo celebrations, Super Bowl parties, or date nights. Tex-Mex has never been easier or more delicious.
Cheesy Chicken Quesadillas on the Goldens' Cast Iron | Heath Riles BBQ
These delicious quesadillas are seasoned with not just one, but two of my competition-grade rubs. This is an excellent recipe for novice BBQ masters as it teaches you how to handle the grill in a low-pressure situation.
Don’t be afraid to make this recipe your own. Add your favorite cheese, veggies, and spicy peppers. Swap the meat for a change of pace, and use the tortillas that make your mouth water. Whatever path you choose, you’re in for a treat.
The Ingredients
My Cheesy Chicken Quesadillas are proof that you don’t need a ton of ingredients to make a great meal. You might already have some of these things in your pantry. If not, here’s what you need to add to your shopping cart.
Boneless chicken breasts. Chicken is one of the most versatile meats, taking on whatever flavors you put on it it. I love using chicken breasts because it’s a juicy, tender cut of meat. If you’re a fan of pollo loco tacos, you’ll love my twist on Tex-Mex.
Sliced peppers and onions. There’s nothing better than grilled peppers and onions. I love the texture and bulk they give my quesadillas. Frying them on the Goldens’ Cast Iron gives them the perfect char. Use multi-colored peppers for a gourmet flavor profile.
Shredded cheese. I used a blend of Mexican cheeses that gave my quesadillas the ideal melt. I prefer freshly shredded cheese because pre-shredded can melt unevenly, depending on the brand.
10-inch flour tortillas. Flour tortillas crisp beautifully on the grill and taste great. I fold my quesadillas in half to give them that perfect bite every time. You’ll want to purchase tortillas that are at least 10-inches or burrito-sized.
Heath Riles BBQ Chicken Rub. My Chicken Rub Shaker is a poultry-lovers best friend. It complements the flavor of the meat without overpowering it. Use it on fried, grilled, or smoked chicken. You won’t want to be without this one!
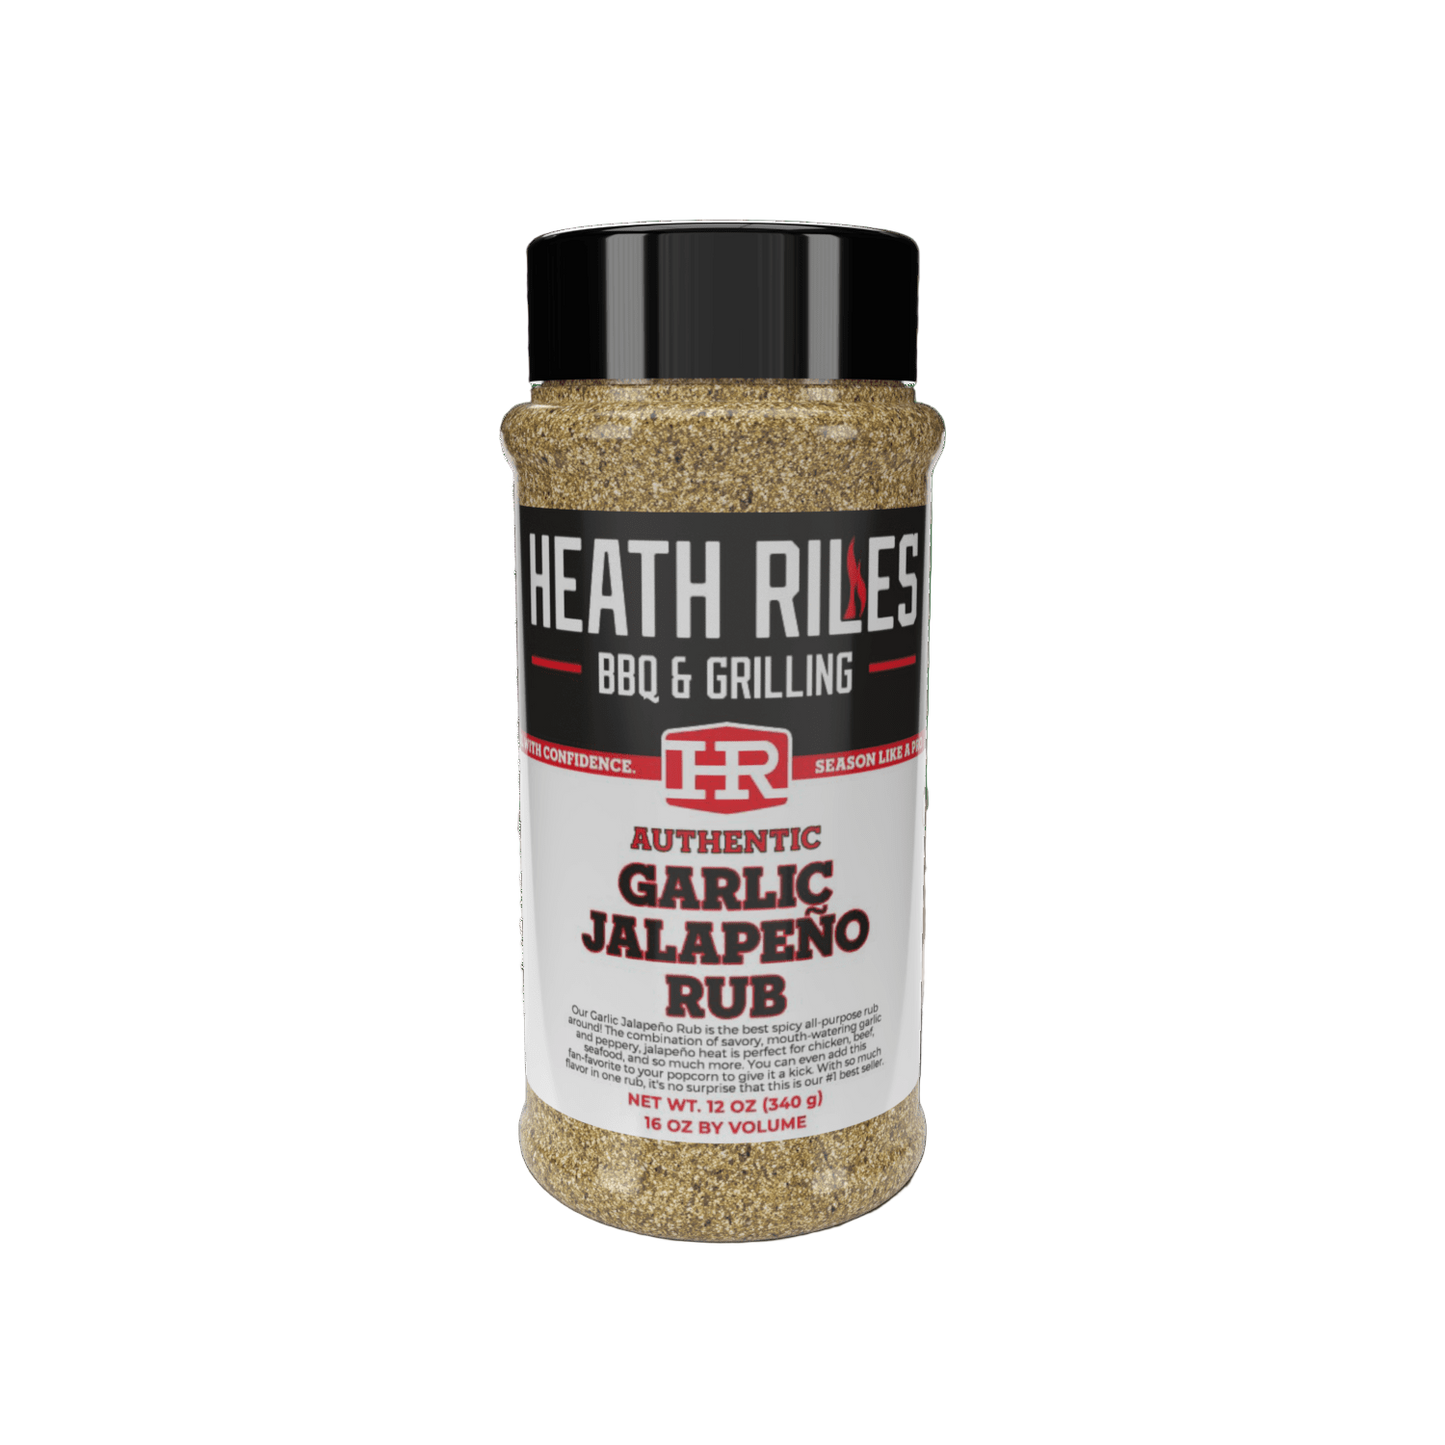
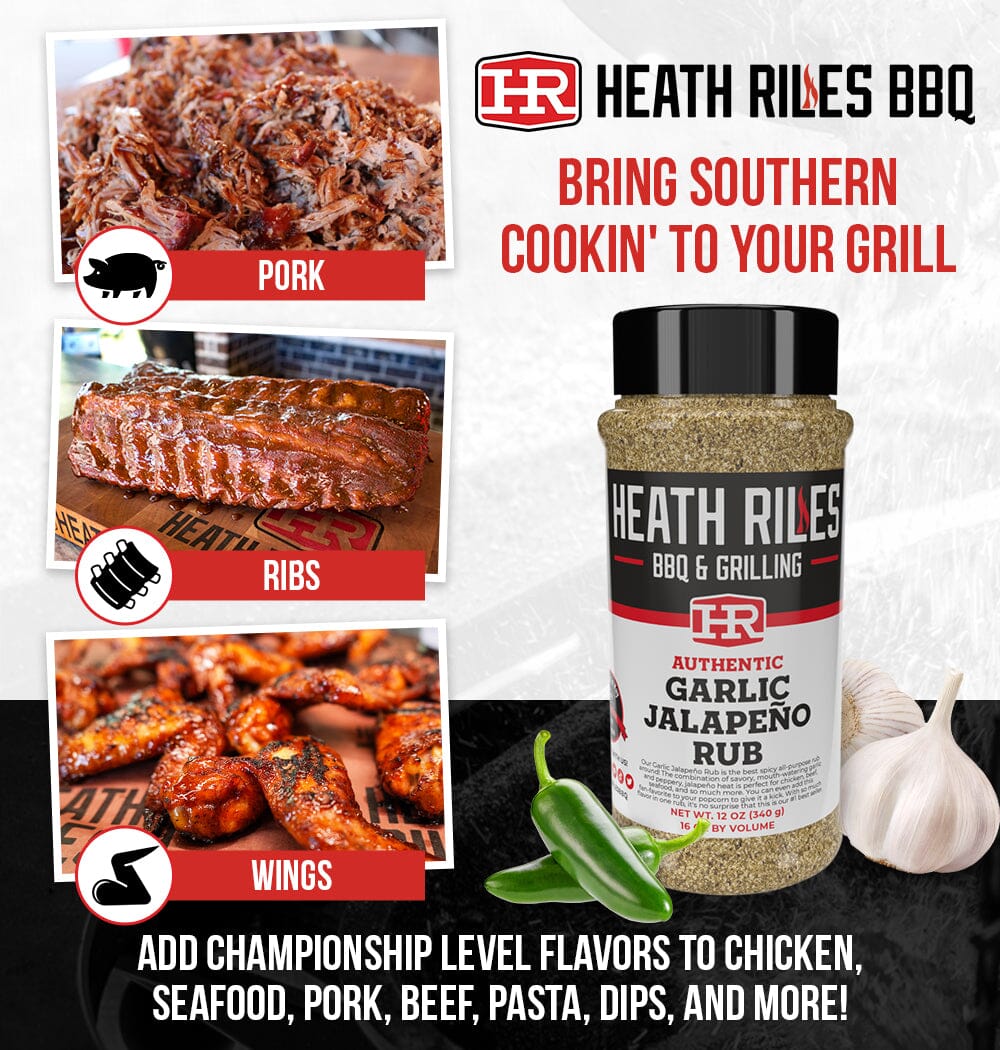
Heath Riles BBQ Garlic Jalapeño Rub. This rub is an excellent base coat for pork, beef, or chicken. It has a mild flavor that pairs well with Tex-Mex dishes. Don’t worry about the jalapeño; this rub is tame enough that even kids enjoy it.
The Grill Setup
Here’s the setup I used to make this recipe fantastic. Check out the equipment and tools section for more of my must-haves.
- Grill. For this recipe, I used my Goldens’ Cast Iron. This is a fantastic, durable setup with shelving that doubles as a prep table. Cast iron stays hot for a while, so you don’t have to worry about temperature fluctuations. I can’t recommend this grill enough.
- Charcoal. I stoked my grill with Royal Oak Charcoal. This charcoal improves the flavors with the smoke.
The Process for Making Cheesy Chicken Quesadillas on the Goldens’ Cast Iron
You can find detailed instructions in the recipe card or video at the bottom of this post. Here’s a brief overview of how I pulled these quesadillas together.
- Prep the grill. First, I stoked my grill with charcoal and fired it up to about 450℉-500℉.
- Filet the chicken. I prepped my chicken by cutting it in half like a book. This method of fileting ensures the chicken cooks evenly and gets excellent flavor throughout the cut. I also cut my onions and peppers.
- Add oil and seasoning. I drizzled the chicken breasts with olive oil and massaged it in with my hands. Once I set the binder, I added a base layer of my Garlic Jalapeño Rub, followed by a good layer of my Chicken Rub. Then, I flipped the chicken and repeated the process.
- Grill the veggies. I preheated a cast iron skillet on the grill, added a little olive oil, then started grilling my veggies. I seasoned my veggies with my chicken seasonings to create a cohesive flavor profile. I grilled the veggies for about 4-5 minutes, then moved them over the make room for the chicken.
- Cook the chicken. I sprayed some canola oil on my grill’s rack and laid the chicken down. I cooked my meat for about 4 minutes on each side until it reached 160℉ internally. Once the chicken was done, I laid it on my veggies and let it go for a bit longer.
- Slice the meat. To prep the chicken, I let it rest for about 10-15 minutes. Then, I cut it into thin slices.
- Assemble the quesadillas. To assemble the quesadillas, I put a layer of cheese down on one side of the tortilla. Then, I added chicken and veggies, finishing with cheese. Finally, I folded the quesadillas in half.
- Grill and serve. I greased my cast iron pan and stuck it back on the grill. Then, I added my quesadillas and cooked them until the cheese melted. I sliced my quesadillas and went to town!
The Results
These quesadillas were fit for royalty. Every bite had the perfect amount of cheese and seasoning. You can’t beat quesadillas with BBQ flair. Simple, yet delicious.
Serving Suggestions for Cheesy Chicken Quesadillas
I always serve my quesadillas with sour cream and salsa. You can also serve them with pickled jalapenos, cilantro, and fresh tomatoes.
Storing Cheesy Chicken Quesadillas
I can almost guarantee you won’t have any leftovers, but if you do, store them in the fridge for 2-3 days max.
Equipment and Tools
Goldens' Cast Iron,Royal Oak Charcoal , cast iron skillet, cutting board, Thermapen One, YETI Tundra 65 Hard Cooler , and insulated gloves.


