

Have you ever wondered what really separates a properly cooked rib from one that’s fall-off-the-bone tender? A lot of backyard cooks chase ribs that slide completely off the bone, but in competition barbecue, that usually means the rib has gone too far. A properly cooked rib should still have texture, bite, and enough structure to hold together when you pick it up.
For this cook, I wanted to show that difference side-by-side. We cooked four racks of baby back ribs the exact same way using the same smoker, same temperature, same seasonings, and the same wrap. The only difference was time. Two racks came off when they were perfectly cooked, and the other two stayed wrapped for another 30 minutes so we could compare properly cooked ribs against ribs that were pushed closer to fall-off-the-bone.
That extra 30 minutes made a bigger difference than some folks might expect. The color changed, the bark changed, the texture changed, and the way the meat pulled from the bone changed completely. This cook is a great reminder that ribs don’t need to fall apart to be tender, and sometimes the best bite comes from knowing exactly when to pull them off the pit.
Fall-Off-the-Bone vs. Properly Cooked Ribs | Heath Riles BBQ
When it comes to ribs, everybody has their own preference. If you love ribs that fall off the bone, there’s nothing wrong with that. Backyard barbecue is all about cooking food the way you and your family enjoy it.
But from a barbecue standpoint, fall-off-the-bone usually means the ribs are overcooked. A properly cooked rib should bend, tear cleanly, and come off the bone with a bite. It should not completely collapse when you pick it up or have bones sliding out before you even take a bite.
That’s what we tested in this cook. We kept every part of the process the same until the very end, then let two slabs keep cooking just long enough to show what that extra time does to the finished rib.
The Ingredients
I kept the ingredients simple so the comparison would be fair. These ribs weren’t loaded down with butter, sugar, honey, or sauce in the wrap. The goal was to let the texture difference speak for itself.
- Baby Back Ribs - I used four racks of baby back ribs trimmed competition-style. Baby backs cook a little quicker than St. Louis-style ribs or spare ribs, which makes them perfect for showing how quickly a rib can go from properly cooked to overdone.
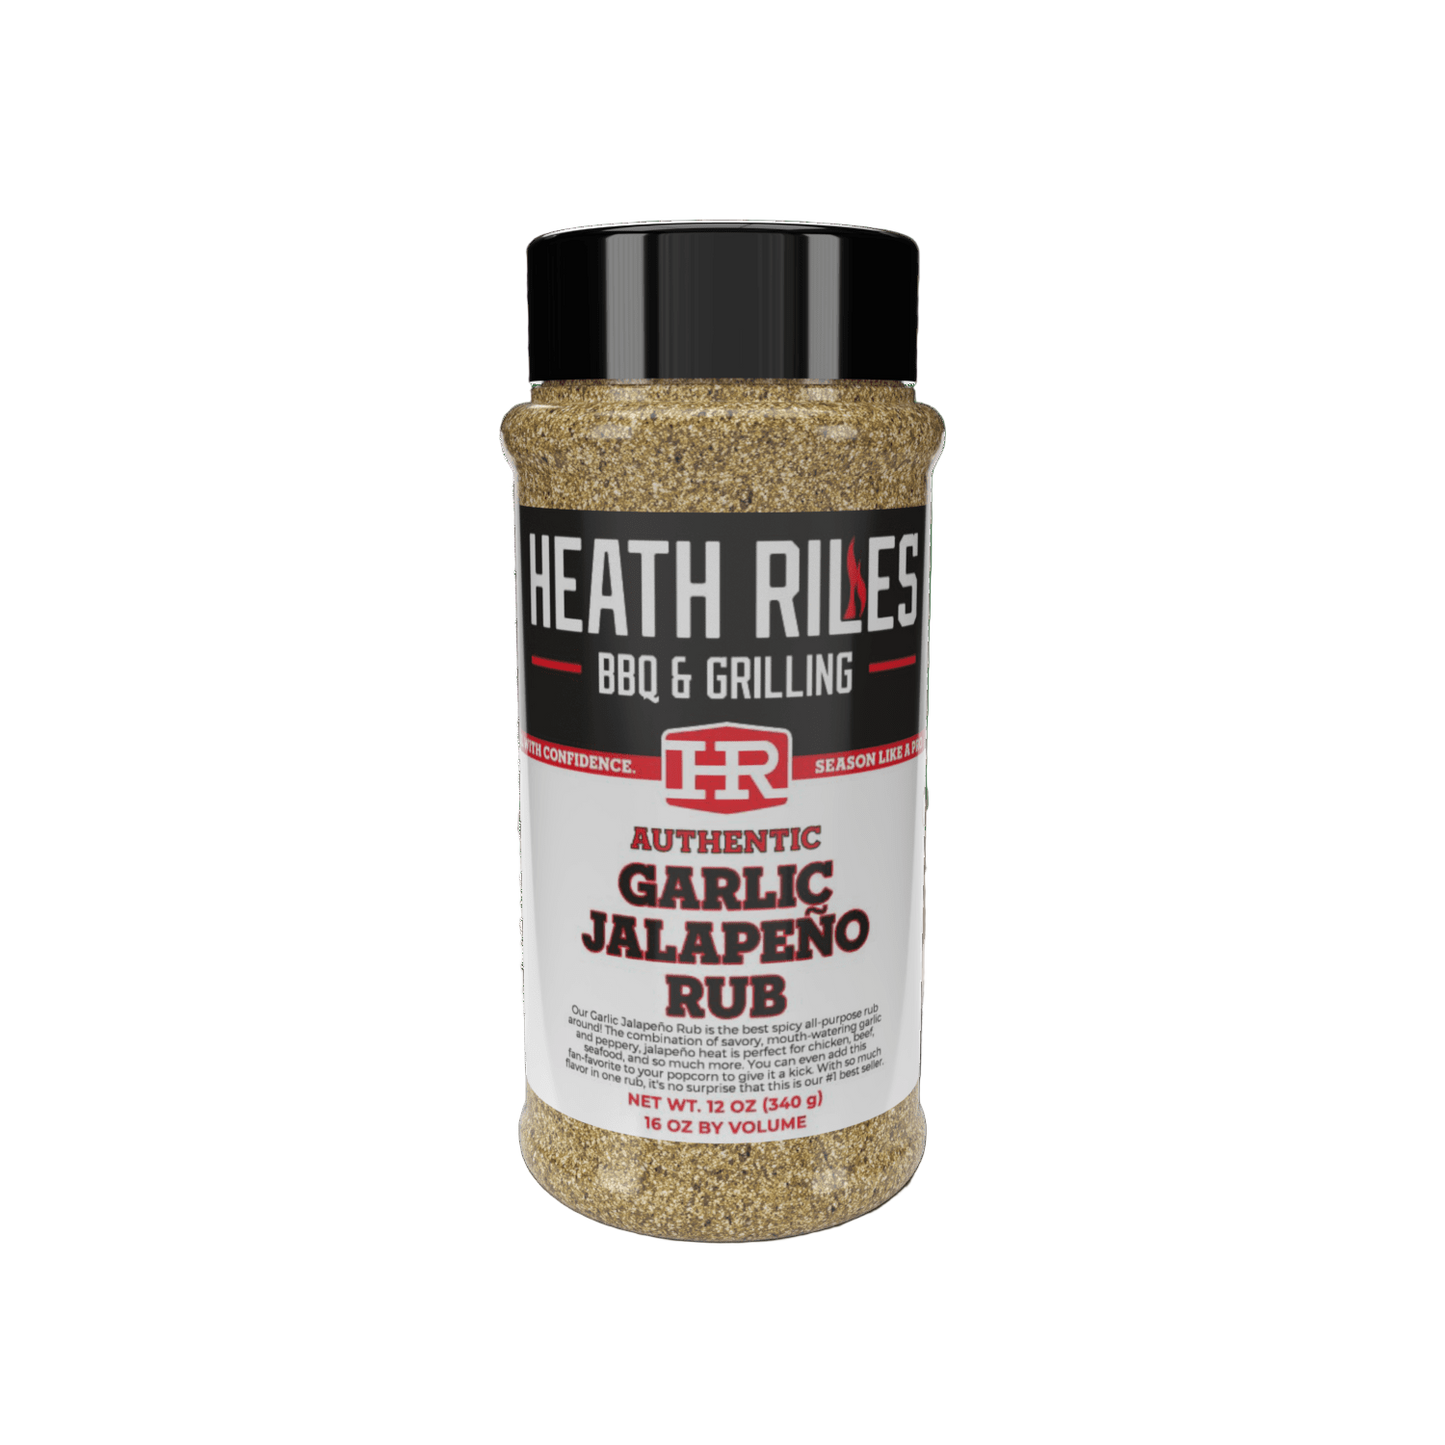
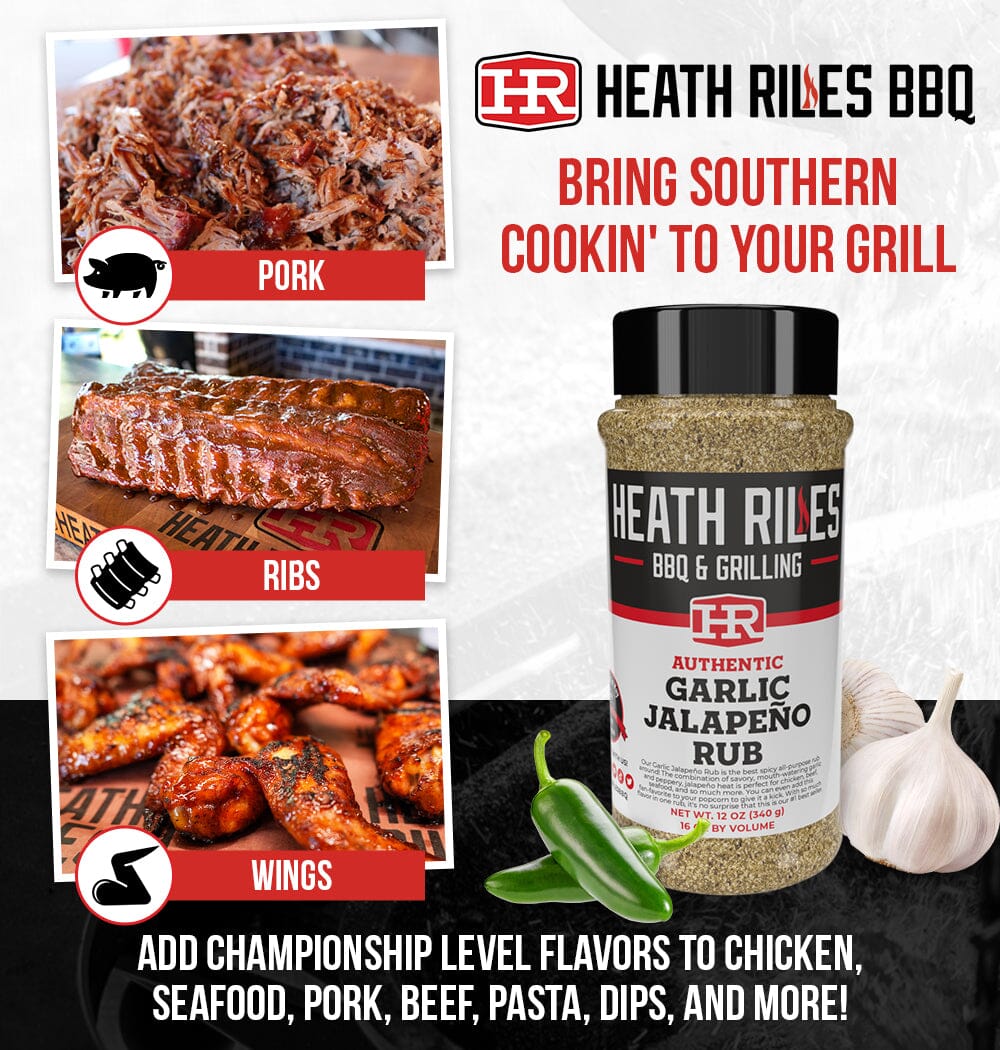
- Heath Riles BBQ Garlic Jalapeño Rub - This rub gives the ribs a savory base layer with garlic, jalapeño, salt, and pepper. It adds great flavor without overpowering the pork.
- Heath Riles BBQ Competition Rub - Competition Rub brings that sweet and savory barbecue flavor I like on pork ribs. It also helps build beautiful color while the ribs smoke.
- Apple Juice - A small drizzle of apple juice went into each wrap. That was it. No butter bath, no brown sugar, no honey — just enough moisture to keep the test even across all four racks.
The Setup
This cook is pretty simple, but controlling the timing is what makes the entire comparison work. Start by getting your Yoder YS640 Pellet Grill stabilized at 300°F using a good hickory blend pellet. For this cook, we used Royal Oak Hickory Blended Charcoal Pellets because they produce excellent color and give pork ribs a stronger smoke profile without overpowering the meat.
The goal of this cook is to keep everything exactly the same except for the final 30 minutes. Same smoker, same seasoning, same wrap, same temperature. That way, you can clearly see how much difference a little extra time in foil makes on the finished ribs.
For these baby back ribs, the first stage of the cook is all about building bark and developing color before wrapping. Running at 300°F helps the ribs cook efficiently while still allowing the seasoning to set properly and the smoke flavor to develop. Maintaining steady heat is important here because fluctuating temperatures can change how quickly the ribs tenderize once they’re wrapped.
A pellet grill, drum smoker, offset smoker, or even a ceramic cooker will all work fine for this recipe as long as you can maintain consistent temperatures throughout the cook. The main focus is clean smoke, even airflow, and enough heat to properly render the ribs without drying them out.
Before cooking, trim the baby back ribs as evenly as possible and remove the membrane if preferred. Competition-style trimming isn’t required, but squaring the racks up can help everything cook more evenly and makes the final comparison easier to see once the ribs are finished.
The Process for Making Fall-Off-the-Bone vs. Properly Cooked Ribs
You can find a detailed demonstration of this rib comparison in the video and recipe card. Here’s a quick rundown of how these baby back ribs came together.
Prep the Ribs
We started with four racks of baby back ribs trimmed competition-style. Since this cook was all about comparing doneness, I wanted each rack to be as similar as possible in size, shape, and thickness.
To keep the racks straight, I used my Heath Riles BBQ Boning Knife to cut a small slit between the first bone on two of the slabs. Those marked racks were the ones that would stay on longer later in the cook. Other than that little marker, all four racks were treated exactly the same.
Season the Ribs
I didn’t use a binder on these ribs. I went straight on the meat with a medium coat of Heath Riles BBQ Garlic Jalapeño Rub, then followed it with Heath Riles BBQ Competition Rub. I seasoned the backs first, then flipped the ribs over and repeated the same layers on the meat side.
This combination gives you a great balance of savory flavor, mild heat, sweetness, and color. Since all four racks received the same seasoning, we could keep the comparison focused on cook time and texture instead of different flavor profiles.
Fire Up the Smoker
Once the ribs were seasoned, I fired up the Yoder YS640 Pellet Grill to 300 degrees using Royal Oak Hickory Blended Charcoal Pellets. At this temperature, the ribs cook efficiently while still getting plenty of smoke and bark development.
I placed all four racks on the smoker and staggered them across the grates so they had room to cook evenly. Then, I shut the lid and let the smoke start working.
Smoke the Ribs Unwrapped
The ribs cooked unwrapped for the first hour. After that first hour, the color was already looking great, and the seasoning had started setting up on the surface.
I gave the ribs a light spritz using a Spray Bottle and let them keep going for about another hour. At 275 to 300 degrees, most ribs need at least two hours unwrapped before they’re ready to wrap. If you wrap too early, the rub hasn’t fully set, and the moisture in the foil can wash that flavor right off the meat.
By the two-hour mark, the ribs had deep color, the bark looked set, and they were ready for foil.
Wrap the Ribs
To keep this test fair, every rack was wrapped the same way using Aluminum Foil. I laid the ribs in foil and added a small drizzle of apple juice to each slab. That was the only liquid used.
I didn’t add butter, sugar, honey, or sauce because I wanted to clearly see what time alone would do to the finished ribs. Once wrapped, all four racks went back onto the smoker to continue cooking.
Pull the Properly Cooked Ribs
At the three-hour mark, the first two racks were right where I wanted them. When I picked them up using my Tongs, they had a good bend, and the meat started to crack slightly without falling apart. That’s a great sign that the ribs are tender but still holding together.
These racks had the texture I look for in a properly cooked rib. They were tender, juicy, and had enough bite to stay intact. At this point, those two racks came off the smoker to rest on a Cutting Board.
Let the Fall-Off-the-Bone Ribs Keep Cooking
The two marked racks stayed wrapped on the smoker for another 30 minutes. Nothing else changed. Same cooker, same temperature, same rub, same apple juice, same foil wrap.
This is where the experiment really started showing results. Just 30 extra minutes in foil was enough to noticeably change the ribs before we even sliced into them using the Heath Riles BBQ Boning Knife.
The Results
Once all four racks were off the pit, the difference between the properly cooked ribs and the fall-off-the-bone ribs was easy to see. The extra 30 minutes changed the color, the texture, and the way the meat handled.
Properly Cooked Ribs
The properly cooked ribs had great color, clean bark, and enough structure to hold together when picked up. They wanted to bend and crack, but they didn’t fall apart. When pulled apart, the meat still had definition and a clean texture.
That’s the kind of rib I like. It’s tender enough to bite through cleanly, but it still gives you that real barbecue texture. The meat comes off the bone when you bite it instead of sliding off before you ever get it to your mouth.
Fall-Off-the-Bone Ribs
The ribs that stayed wrapped for an extra 30 minutes looked noticeably darker. They were softer, greasier underneath, and much more fragile when handled. The meat wanted to separate from the bone too easily, and in some spots, the bones could almost pull right out.
That may sound good to some folks, but the texture was completely different. The rib lost some of its structure and started moving into that mushy, overcooked zone.
The Biggest Difference
The biggest difference wasn’t just tenderness. It was mouthfeel. The fall-off-the-bone ribs still had moisture, but they didn’t eat the same. They were softer at first, then started to feel drier and almost chalky while chewing.
The properly cooked ribs had a cleaner bite and better texture. They stayed juicy without turning mushy, and the bark held up better. That’s why timing matters so much once ribs are wrapped.
Why Timing Matters
This cook proves how fast ribs can change once they’re in foil. Thirty minutes may not sound like much, but at 300 degrees, that extra time can push ribs past the texture you want.
Instead of cooking ribs strictly by the clock, pay attention to how they look and feel. Watch the color, check the bend, look for slight pullback on the bones, and see how the rack holds together when lifted. Those signs tell you more than a timer ever will.
Every rack cooks a little differently depending on thickness, fat content, airflow, and placement on the pit. The better you get at reading the ribs, the more consistent your results will be.
Memphis-Style Dry Rib Finish
If you want to turn the properly cooked ribs into a Memphis-style dry rib, you can dust the tops with a little extra Heath Riles BBQ Competition Rub and place them back on the smoker unwrapped for 10 to 15 minutes. That helps tighten the bark and gives the ribs that classic dry-rub finish.
This is a great option if you like ribs with bold seasoning, clean texture, and no sauce covering up the pork flavor.
Serving Suggestions for Baby Back Ribs
These ribs are rich, smoky, and packed with barbecue flavor, so pairing them with classic backyard sides is the perfect way to round out the plate. Whether you’re cooking for a weekend family dinner, a Memphis-style rib spread, or a backyard barbecue party, these side dishes fit perfectly alongside properly cooked baby back ribs.
- Apple Pie Baked Beans - Sweet, smoky baked beans are always a natural pairing for ribs, and these Apple Pie Baked Beans bring a little extra depth with warm cinnamon and apple flavors layered into the sauce. The sweetness balances out the savory bark on the ribs while still fitting right into a barbecue plate.
- Easy Classic Coleslaw - A cold, creamy slaw is hard to beat next to hot barbecue. This Easy Classic Coleslaw adds crunch, freshness, and just enough tang to balance the richness of the pork ribs. It’s especially good if you’re serving these Memphis-style with extra dry rub on top.
- Classic Southern Potato Salad - Potato salad and ribs are a classic combination for a reason. This Southern-style potato salad brings creamy texture and traditional barbecue flavors that work perfectly with smoked pork.
- Smoked Mac and Cheese - If you want a richer barbecue plate, smoked mac and cheese is always a crowd favorite. The creamy cheese sauce pairs perfectly with smoky ribs, and the extra smoke flavor ties everything together.
- Grilled Corn with Citrus Lime Butter - Grilled corn adds freshness and a little charred sweetness to balance the heavier barbecue flavors. The citrus lime butter brightens everything up and works especially well with the savory seasoning profile on these ribs.
Storing Leftovers
If you have leftover ribs, wrap them tightly in Aluminum Foil and store them in the fridge for up to 4 days. To reheat, place them back on the smoker or in the oven with a small splash of apple juice until heated through.
You can also freeze leftover ribs for longer storage. Wrap them tightly in foil or vacuum seal them, then thaw overnight in the fridge before reheating.
Final Thoughts
This cook is a great example of how small changes can make a big difference in barbecue. The properly cooked ribs and fall-off-the-bone ribs were seasoned the same, wrapped the same, and cooked on the same pit. The only difference was 30 minutes.
If you love fall-off-the-bone ribs, cook them that way. There’s nothing wrong with making barbecue the way you like it. But if you want a rib with better bite, cleaner texture, and more structure, pull them before they start falling apart.
A properly cooked rib should bend, bite clean, stay juicy, and still hold together. Once you learn that texture, you’ll understand why experienced pitmasters pay such close attention to timing.
Equipment and Tools
Yoder YS640 Pellet Grill, Royal Oak Hickory Blended Charcoal Pellets, Aluminum Foil, Heath Riles BBQ Boning Knife, Spray Bottle, Tongs, Cutting Board


