

WATCH FULL HOW-TO VIDEO HERE!
You have everything you need for a gourmet holiday dinner, including a plump, juicy turkey. Now, all you need is a creative way to fix it! Why not try spatchcocking your bird? This tried-and-true method creates a moist bird that cooks evenly. It also gives your platter a gorgeous presentation that’ll win anyone over.
Contrary to popular belief, spatchcocking is a simple method that is nearly impossible to mess up. If you’re feeling nervous, follow my easy tutorial. Within no time, you’ll have a feast fit for a king.
How to Spatchcock a Turkey: Heath Riles BBQ
Spatchcocking has been around for ages, originating in 18th-century Ireland. Spatchcocked birds were often cooked on a spit, mainly when people needed a quick dinner. Though this tutorial is for turkeys, you can use it on chicken and geese, too.
The Supplies
If you find yourself butchering a lot of birds, you’ll want to stock your kitchen with these awesome tools.
- Butchering shears. Butchering shears are an investment any pitmaster should make. Unlike other scissors, butchering shears contain a curved blade, allowing you to cut meat easily. They also fit into tight spaces, keeping your cuts accurate.
- Victronix Pro Chef's Knife. I’ve tried a lot of knives over the years, but this one is by far the best. Its sharp blade makes butchering effortless! It’s also durable, as it’s a Swiss army knife. Give it a shot. I know you’ll love it as much as I do.
- Metal baking tray. A metal baking tray gives you a sturdy, washable prep table. It’s a lot more sanitary than using a cutting board!
How to Spatchcock a Turkey
You can find a visual demonstration of this tutorial in my video. For now, here’s a quick rundown of how I spatchcock a turkey.
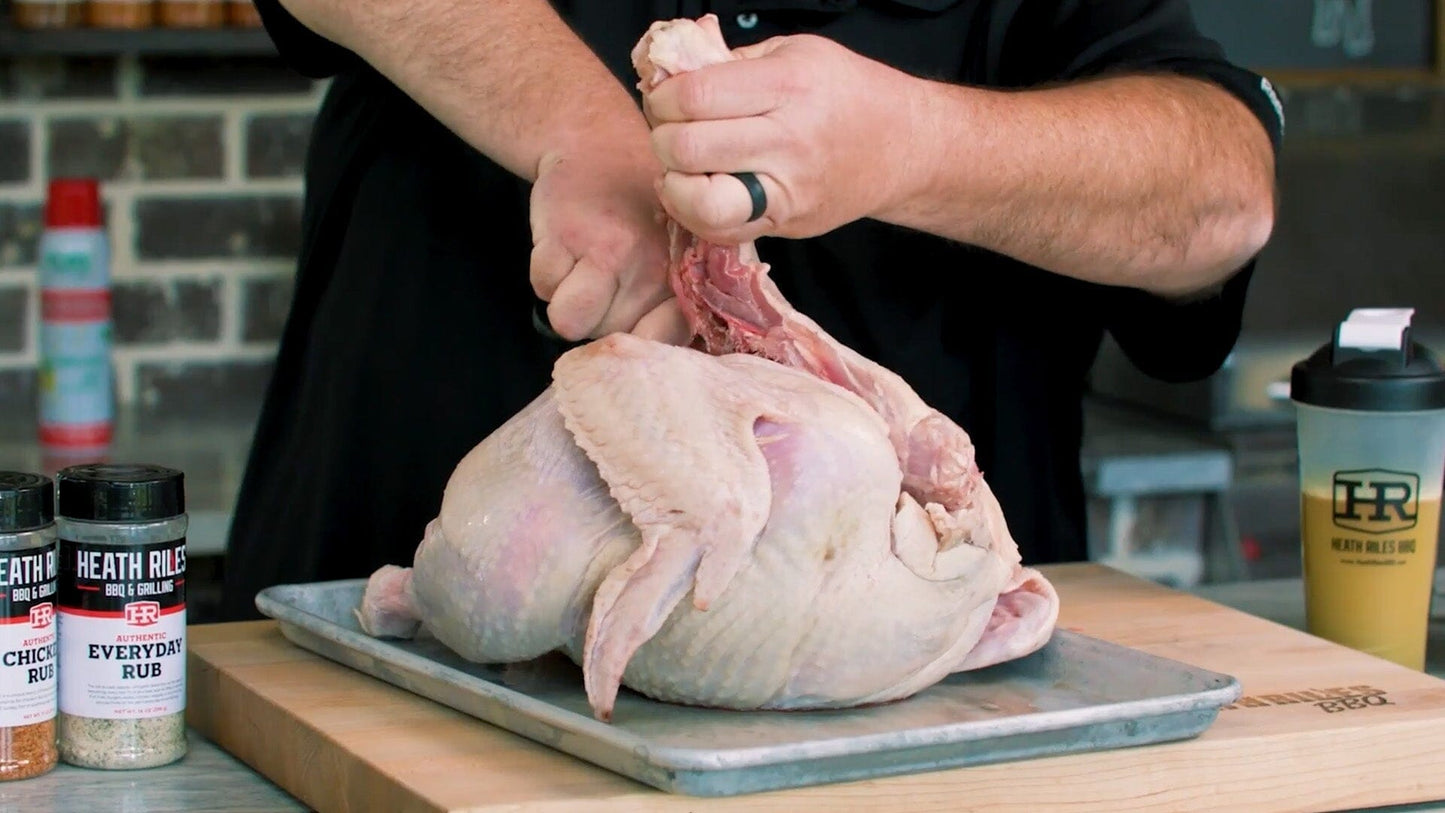
- Prep the turkey. First, I removed the turkey from its packaging and patted it dry. This makes it easier to cut the bird and prevents any butchering accidents. I also removed the giblets and neck.
- Start trimming. Next, I flipped the bird over and trimmed any excess flaps of skin and fat with my butchering shears.
- Cut the backbone. I placed the turkey breast side down and used my shears to mark off each side of the spine. I used a large knife to cut out the backbone, keeping my lines even so the bird would lay flat.
- Give the bird a once over. Removing the backbone exposed a lot of excess skin. I gave the turkey a good once-over to ensure it looked pretty as a picture. This is an extremely important step if you value the presentation of a dish.
- Split the breastbone. Next, I cut into and split the breastbone with my large knife. You’ll know you’ve done it right when you hear a crack!
- Clean the turkey. With the turkey wide open, I saw some debris, so I removed any tissue and fat pockets.
- Separate the legs. I used my butchering shears to snip the fat holding the thighs of the bird together. At this point, with a little positioning, the bird should lay entirely flat.
Cooking Your Spatchcocked Turkey
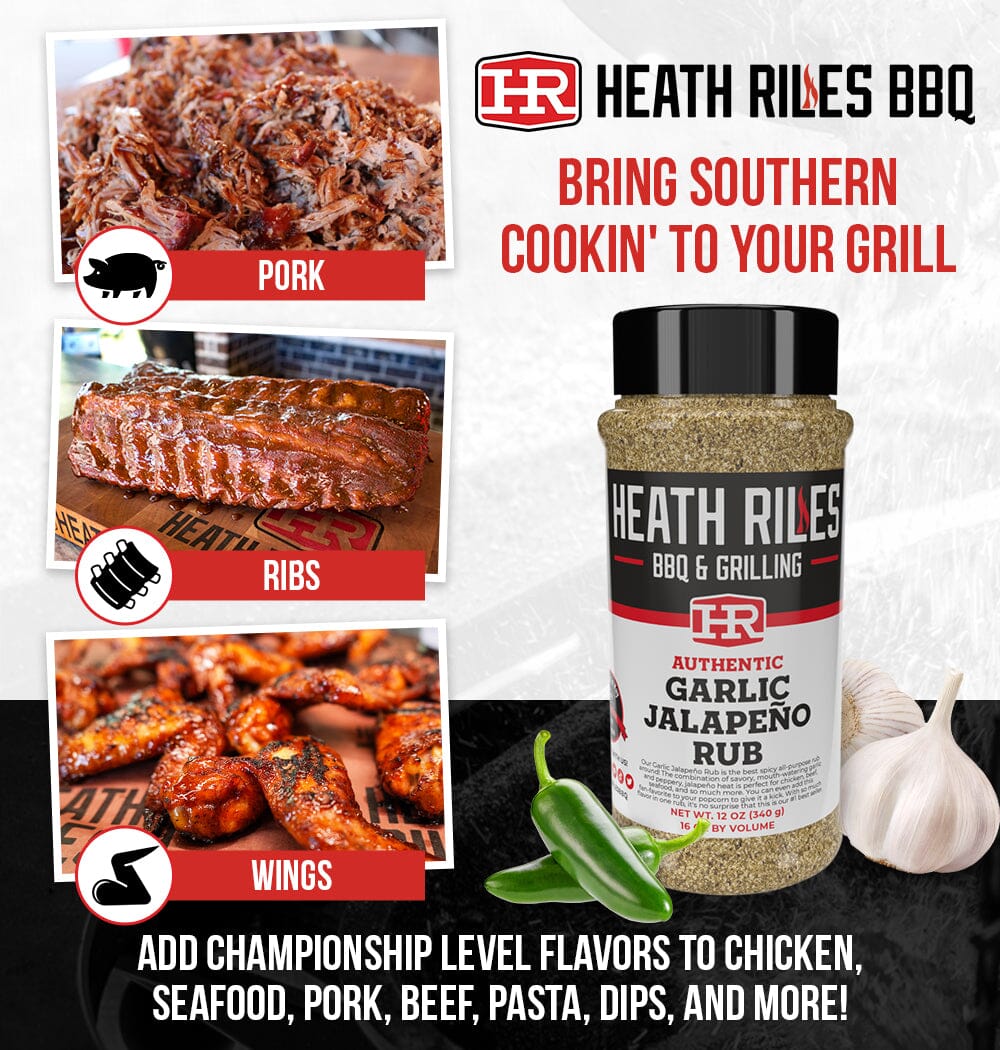
My favorite way to cook a spatchcocked turkey is to smoke it at 350℉. I inject the bird with a little Heath Riles BBQ Chicken Injection & Brine, then season it with Heath Riles BBQ Chicken Rub and Heath Riles BBQ Everyday Rub.
In under 4 hours, you’ll have a holiday turkey that’s packed with flavor.
Waste Not!
If you want to be ultra-frugal, you can cook the backbone and scraps and save them for bone broth. One turkey carcass makes at least 2 quarts of protein-rich broth. You can store the bone broth in your freezer for up to a year.
Equipment and Tools
Butchering shears, Victronix Pro Chef's Knife, Metal baking tray.


