




I’ve cooked a lot of ribs over the years, but this cook is a little different. We’re taking the same rib recipe we’ve used to win the Rib division at Memphis in May four times and breaking down not only how we cook it, but why each step works.
For this one, I’m joined by Dr. Wes Schilling from Mississippi State University. Dr. Schilling is a professor of meat science, sensory science, and food chemistry in the College of Agriculture and Life Sciences’ Department of Biochemistry, Nutrition and Health Promotion. He also works with Mississippi State’s Food Science Innovation Hub.
Dr. Schilling is internationally recognized for his research, with 186 peer-reviewed articles, 162 scientific abstracts, 73 invited articles, nearly 6,000 Google Scholar citations, and nearly $9 million in research funding. Over his 20 years at Mississippi State, he has supervised 116 graduate students while working to solve real-world challenges facing agriculture, consumers, and the food industry.
So while I’m showing you exactly how we cook our World Championship ribs, Dr. Schilling is explaining what’s happening inside that meat along the way. From collagen and moisture retention to smoke, temperature, Maillard browning, and caramelization, this cook is where competition BBQ and food science come together.
World Championship Ribs: The Science Behind a Perfect Rib | Heath Riles BBQ
These aren’t just championship-style ribs. This is the same recipe we’ve cooked at the World Championship and used to win the Rib division four times.
We’re starting with four racks of Prairie Fresh Prime baby back ribs and building flavor in layers. They get a mustard binder followed by Heath Riles BBQ Garlic Jalapeño Rub and Heath Riles BBQ Competition BBQ Rub. From there, we cook them over lump charcoal and hickory at about 300°F before wrapping them with Honey Chipotle Rub and Butter Bath & Wrap.
Every one of those steps has a purpose. What makes this cook interesting is getting to hear the science behind techniques I’ve learned through years of competition BBQ.
Why This Recipe Works
Competition ribs are all about building the right combination of flavor, color, moisture, and tenderness. There isn’t one ingredient or technique that gets you there. It’s everything working together.
We start by choosing good pork and properly trimming it. Then we build layers of savory, salty, sweet, and spicy flavor through the rubs, wrap, sauce, and glaze. We cook at a higher temperature than traditional low-and-slow ribs, and we use temperature along with feel to determine when the meat is actually tender.
Dr. Schilling explains that one of the biggest things happening throughout the cook is the breakdown of collagen. As the meat cooks, that connective tissue begins breaking down and eventually forms gelatin. That transformation is a big part of what gives properly cooked ribs their tender, juicy texture.
That’s the science. The art is knowing when to season, when to wrap, when to rest, and when that rib feels just right.
Meet Dr. Wes Schilling
Dr. Wes Schilling is a professor of meat science, sensory science, and food chemistry at Mississippi State University. His research focuses on solving challenges facing the food and agriculture industries, which makes him the perfect person to have around when we start asking why certain BBQ techniques actually work.
During this cook, we get into everything from connective tissue and moisture retention to protein changes and browning. These are things pitmasters deal with every time they fire up a smoker, even if we don’t always use the scientific terms for them.
That’s what I enjoyed about this cook. I’ve developed my process through years of cooking and competing, and Dr. Schilling can explain the science behind why many of those techniques give us the results they do.
The Ingredients
The Ribs
- Prairie Fresh Prime Baby Back Ribs. We cooked four racks for this recipe. I like these ribs because they give us the quality we need for competition BBQ while still being something the average backyard cook can find.
- Mustard. We use mustard as our binder before applying the seasonings.
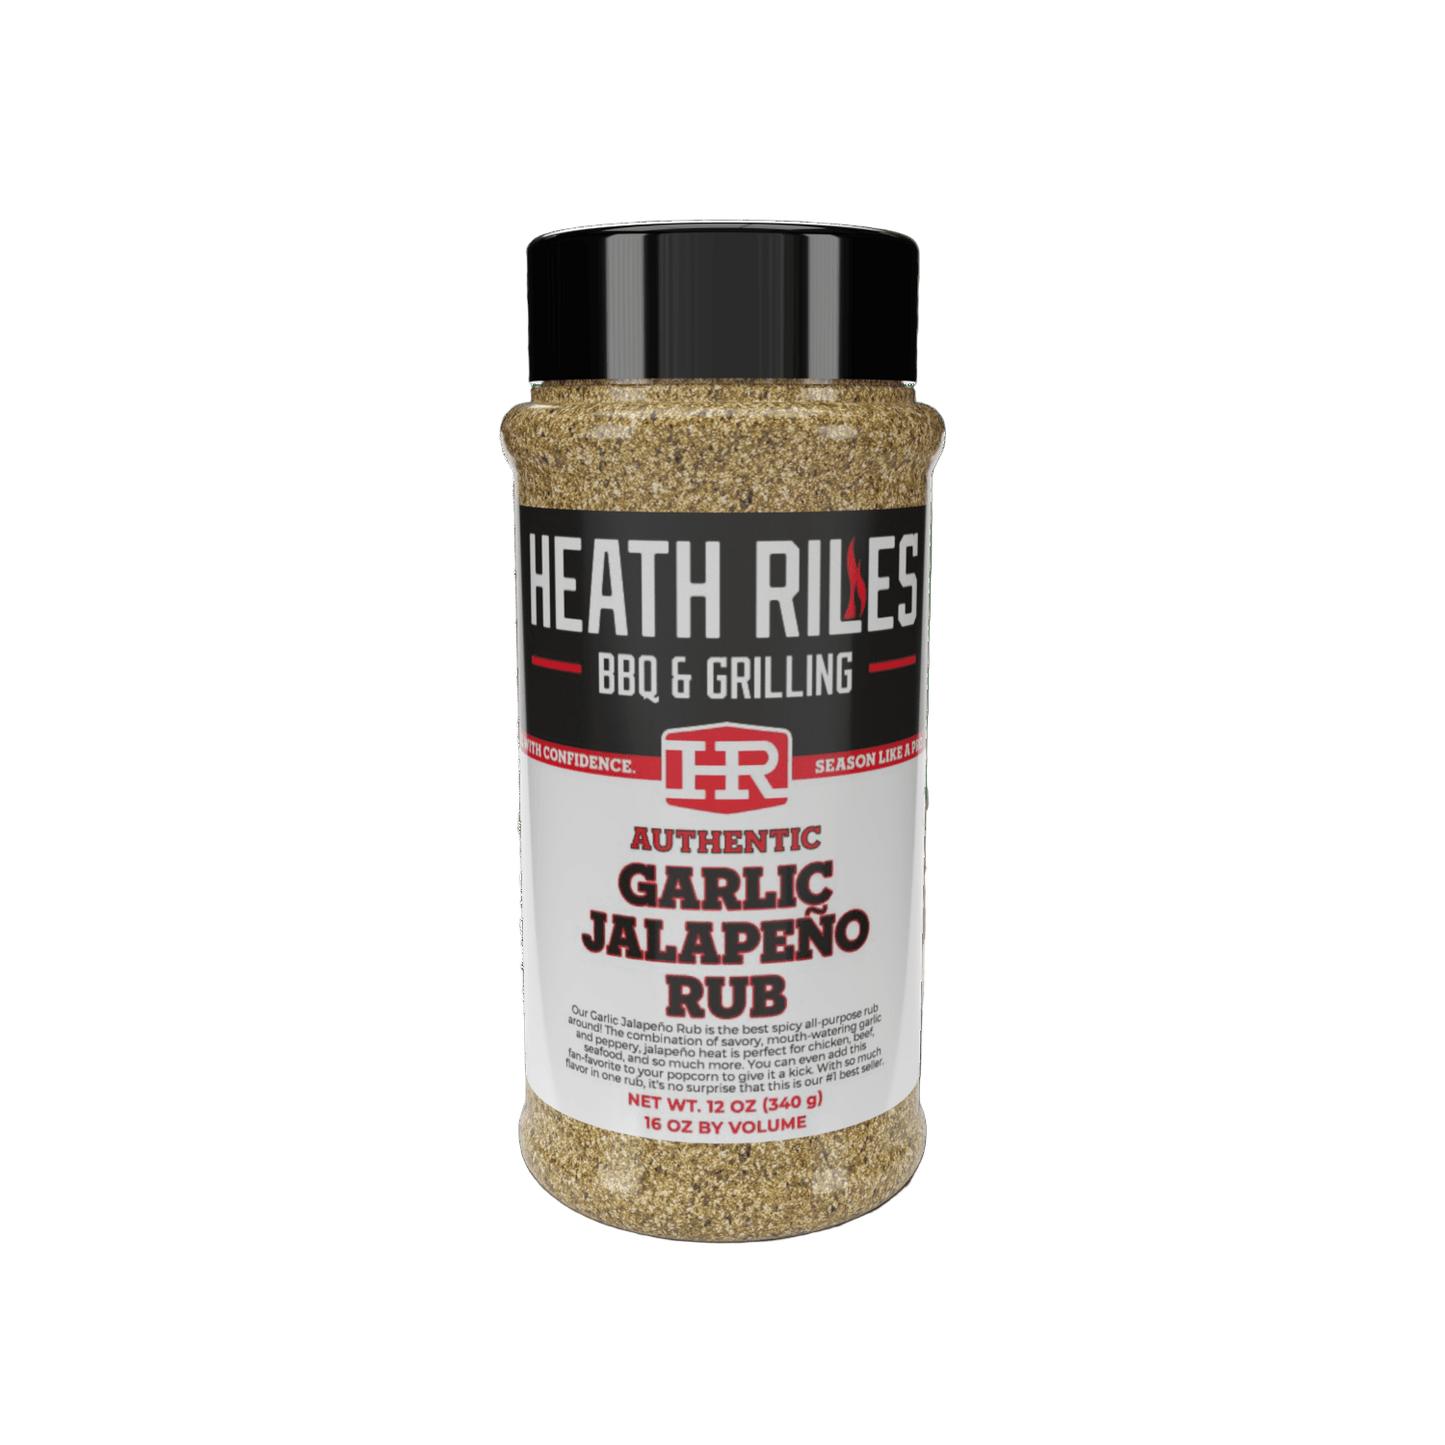
- Heath Riles BBQ Garlic Jalapeño Rub. This is our first layer of seasoning, bringing garlic, savory flavor, and some heat.
- Heath Riles BBQ Competition BBQ Rub. Our competition-style BBQ rub goes over the Garlic Jalapeño Rub to continue building that championship flavor and color.
For the Wrap
- Heath Riles BBQ Honey Chipotle Rub. A little goes into the foil before placing the ribs meat-side down.
- Heath Riles BBQ Butter Bath & Wrap. Our Butter Bath & Wrap contains buttery, honey, brown sugar, and spice flavors. We reconstitute it with apple juice before adding it to the ribs.
- Apple Juice. Used to reconstitute the Butter Bath & Wrap and add another layer of sweetness and moisture.
For the World Championship Sauce
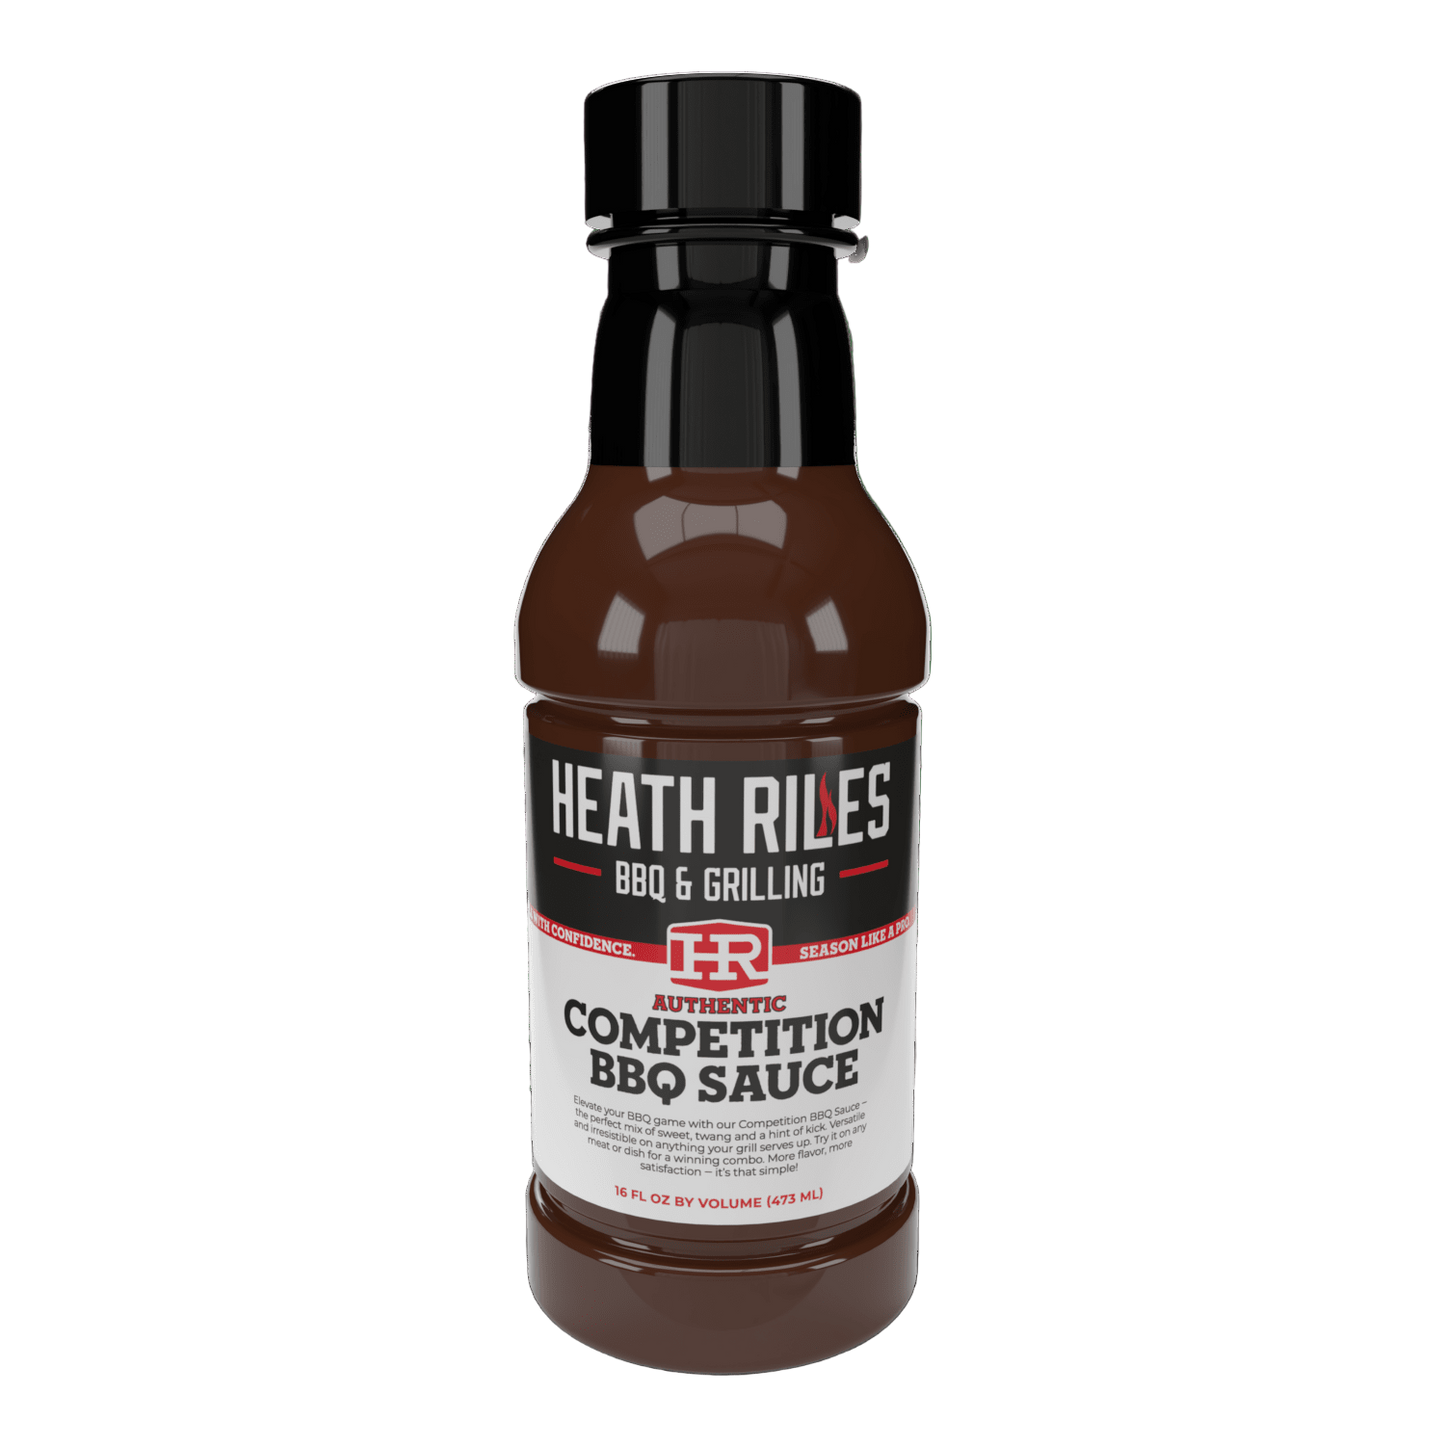
- Heath Riles BBQ Competition BBQ Sauce. This brings some tang and bold BBQ flavor to our finishing sauce.
- Heath Riles BBQ Sweet BBQ Sauce. We combine equal parts Sweet BBQ Sauce and Competition BBQ Sauce.
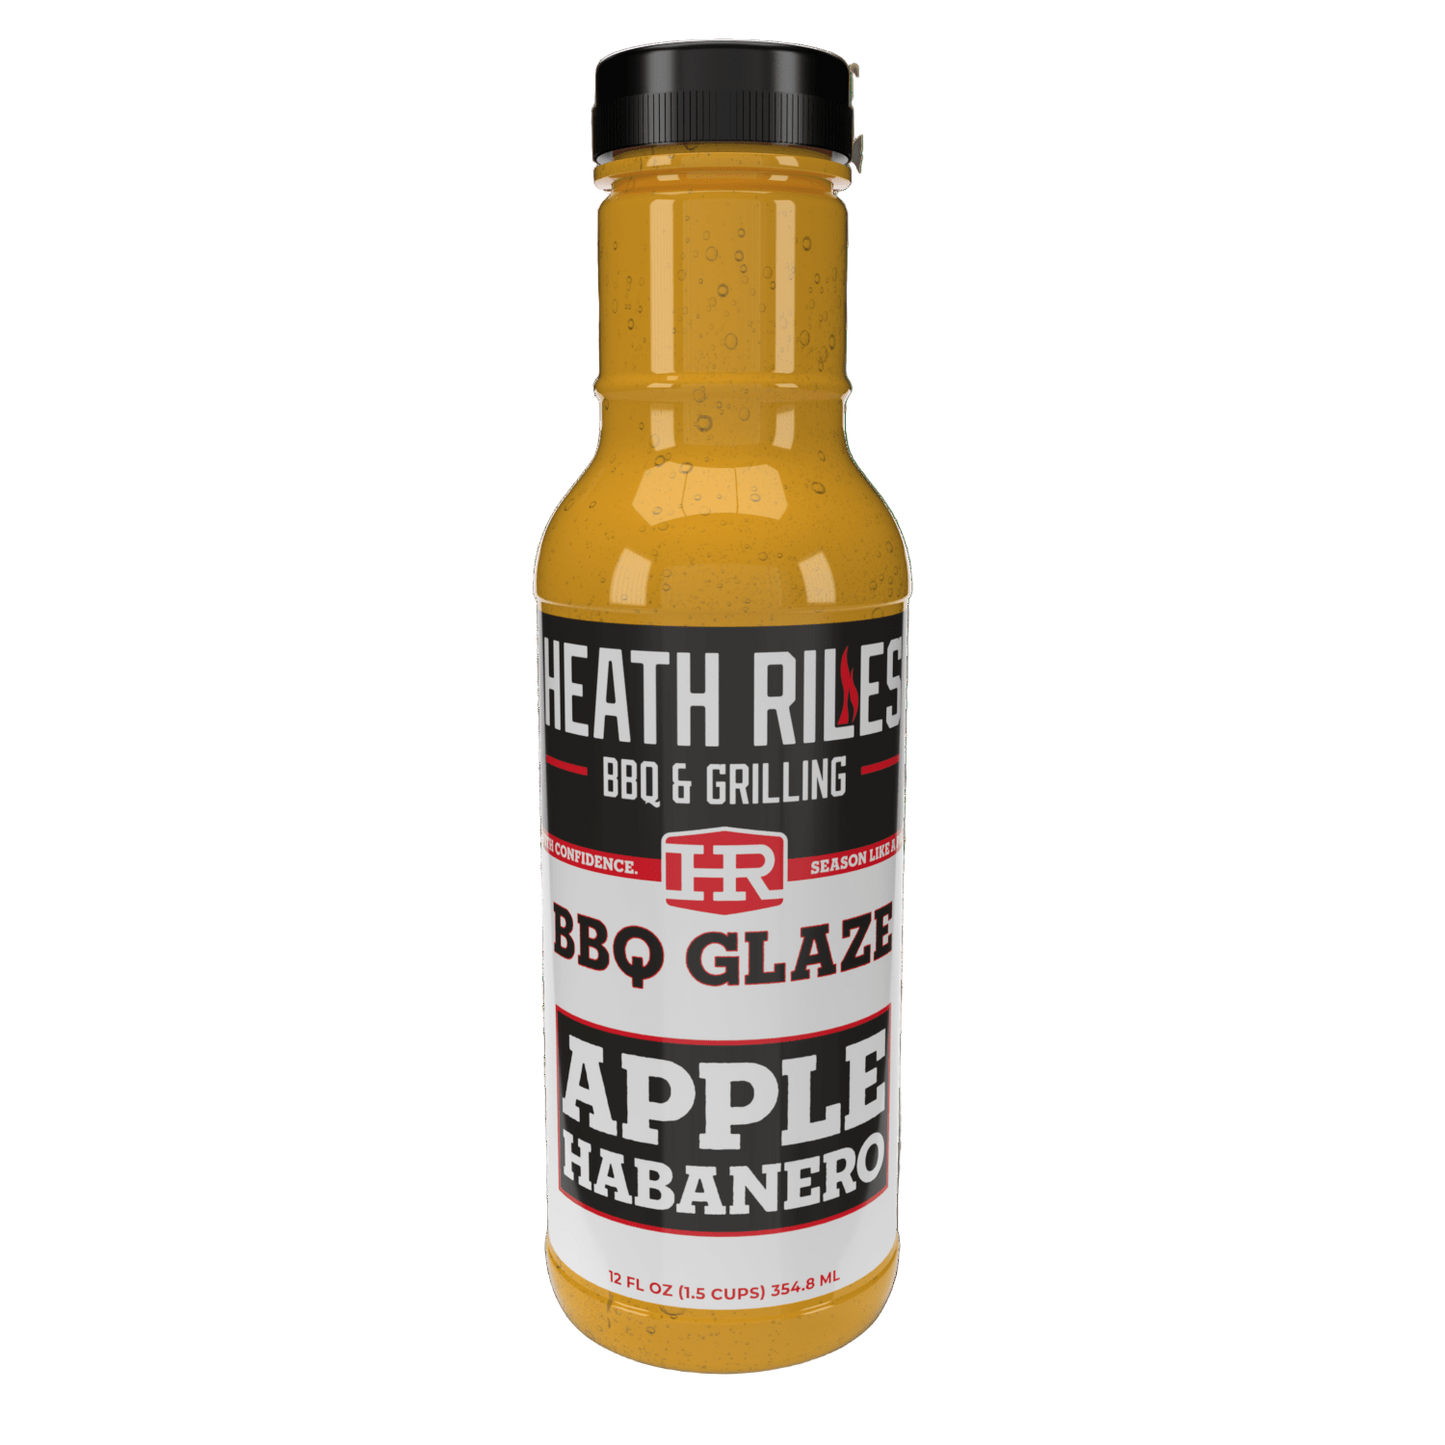
- Heath Riles BBQ Apple Habanero Glaze. We use about half as much glaze as either sauce, giving the mixture apple sweetness with a little heat.
Smoker Setup
For this cook, we’re using an Outlaw Patio Smoker running at about 300°F. I’m burning Royal Oak Lump Charcoal along with center-cut pieces of dried hickory.
I like lump charcoal in a stick burner because I find that it gives me a good coal bed and helps maintain a consistent temperature while I add wood. The hickory is there for smoke flavor, but it also plays a role in developing that deep mahogany color we’re after.
The Science: Why Cook Ribs at 300°F?
A lot of people automatically think ribs have to be cooked at 225°F, but I’ve always preferred cooking mine hotter, usually around 275°F to 300°F.
Dr. Schilling explains that regardless of whether you cook low and slow or at 300°F, the important part is breaking down the collagen. According to him, that process starts around 160°F. As the meat continues cooking toward the temperatures where we finish these ribs, that collagen continues breaking down and converting into soft gelatin.
Cooking around 300°F gets us through that process faster while helping us hold onto the moisture we want in the meat.
The Process
Trim the Baby Back Ribs
The first thing I do is remove the membrane from the back of each rack. Then I feel around for any hard fat and trim it away along with any loose pieces that might burn during the cook.
This is also a good time to look at the ribs themselves. You want pork with a good light pinkish-red color and some visible marbling rather than something extremely pale and lean.
The Science: Collagen, Elastin, and Why We Remove the Membrane
There’s actually some science behind taking that membrane off.
Dr. Schilling explains that the connective tissue contains both collagen and elastin. Collagen changes as we cook and is eventually converted into the gelatin that helps create that tender texture. Elastin behaves differently and doesn’t break down like collagen during the cooking process. That can leave you with a tougher layer on the back of the ribs.
Removing the membrane isn’t just something we do because that’s how competition cooks have always done it. There’s a real texture benefit behind the technique.
The Science: What to Look for When Buying Pork Ribs
Color and marbling can tell you a lot before the ribs ever hit the smoker.
Dr. Schilling points out that pork with a light pinkish-red appearance rather than a pale color can have better water-holding capacity and juiciness. He also recommends looking for marbling because that intramuscular fat contributes flavor.
That’s one reason starting with a quality rack matters. You can have the best technique in the world, but your finished product is always going to benefit from better meat.
Apply the Mustard Binder
Once all four racks are trimmed and the membranes are removed, turn them over and apply a light coating of mustard.
I’ve used mustard as a binder for years. Part of that is just me being superstitious. I started winning with mustard, so I kept using mustard.
But according to Dr. Schilling, there’s some science backing me up here too. He explains that mustard contains some protein that can help bind water as well as help the seasoning adhere to the ribs.
There’s also a practical benefit. The mustard makes it easy to see where I’ve seasoned and whether I have good, even coverage.
Season the Ribs
Start with a medium coat of Heath Riles BBQ Garlic Jalapeño Rub. Once that first layer is down, follow it with Heath Riles BBQ Competition BBQ Rub.
Repeat the process on both sides of every rack and gently pat the seasonings into the meat.
The Garlic Jalapeño Rub gives us that savory garlic flavor with a little heat, while the Competition BBQ Rub builds another layer of flavor and helps us develop the color and bark we want.
The Science: Salt and Moisture
Salt gets blamed for drying meat out, but Dr. Schilling explains that its role is more complicated than that. The interaction between salt, water, and the meat helps with moisture retention as the cook progresses.
This is another good example of why seasoning isn't just about what your tongue tastes at the end. The ingredients we put on the ribs are interacting with the meat throughout the entire cooking process.
Smoke the Ribs
Once the ribs are seasoned, put them on the Outlaw Patio Smoker at about 300°F over Royal Oak Lump Charcoal and hickory.
I let them cook untouched for about the first 45 minutes. From there, I start watching the surface of the meat. At the one-hour mark, ours had developed some beautiful color and were beginning to dry slightly on top, so I spritzed them with a little water.
We let the ribs continue cooking for another 45 minutes to an hour, bringing the total unwrapped cooking time to about two hours.
If you notice a little bone marrow pushing out from some of the bones during this stage, Dr. Schilling explains that it can happen on some racks and is nothing to worry about.
The Science: Water vs. Apple Juice for Spritzing Ribs
This led to an interesting discussion about what you should use to spritz ribs.
I like water because I’m looking to keep the surface from getting too dry without adding another strong flavor. Dr. Schilling points out that apple juice can work well too, but for a different reason. The sugars in the apple juice can contribute to additional browning reactions and influence the color and flavor of the finished ribs.
There isn’t necessarily one right answer. It depends on what you’re trying to accomplish with your ribs.
Check the Ribs Before Wrapping
At the two-hour mark, it’s time to start checking the ribs.
I use my Thermapen ONE to check the internal temperature. These ribs were hitting around 170°F, but temperature isn’t the only thing I look at.
I also do what I call the smear test. Lightly rub the surface of the ribs. If the seasoning stays put instead of wiping away, the bark has set and I know they’re ready to wrap.
Wrap with Honey Chipotle and Butter Bath & Wrap
Lay out two sheets of foil for each rack. I like to double-wrap because the last thing you want is to puncture the foil and lose all that liquid.
Put a light layer of Heath Riles BBQ Honey Chipotle Rub onto the foil, then lay the ribs meat-side down.
For our Heath Riles BBQ Butter Bath & Wrap, we reconstitute ¼ cup of the dry mixture with about 8 ounces of apple juice. Each rack gets roughly ¾ cup of the prepared Butter Bath & Wrap before being tightly wrapped in foil.
Put the wrapped ribs back onto the smoker and let them cook for another 45 minutes to an hour before checking for tenderness.
The Science: What Happens Inside the Wrap?
By the time these ribs go into the foil, they’re already above the temperature where Dr. Schilling says collagen starts breaking down. As they continue cooking, that collagen keeps converting toward gelatin while the fat renders and the ribs cook in the flavorful liquid inside the foil.
That’s where science and art start coming together. I know from years of cooking ribs what I want them to look and feel like. Dr. Schilling can explain what’s happening to the proteins, fat, and moisture that gets them there.
Check for Championship Tenderness
After about an hour wrapped, pull the ribs off and carefully open the foil. I’m looking for a few different signs.
First, check the internal temperature with the Thermapen ONE. I’m usually looking for somewhere around 203°F to 206°F. Then I do what I call the push-pull test. Hold one bone down and gently push or pull another. If that bone starts wanting to break through with very little resistance, you’re right where you need to be.
This cook was a perfect example of why you don’t cook ribs by time alone. Some of our racks were around 205°F to 206°F and had the tenderness I wanted. A couple of the others were closer to 200°F and still had too much resistance, so they went back onto the smoker for another 15 to 20 minutes.
The Science: Why Five Degrees Can Matter
That small temperature difference gave Dr. Schilling a chance to show exactly what’s happening inside the ribs.
As the ribs move through that finishing range, more collagen is converting into gelatin. He describes that gelatin as acting almost like a sponge, taking up moisture and rendered fat. That helps explain why the racks around 205°F to 206°F felt noticeably more tender than the ones that were still around 200°F.
That’s also why I always tell people to cook ribs until they’re done, not until the timer says they should be done. Every rack is a little different. Temperature gives you information, but the feel of the meat tells you when you’ve gotten where you want to go.
Resting the Ribs
Once each rack reaches the tenderness we want, keep it wrapped and let it rest. We rested ours for about 30 minutes before saucing.
This is a step you don’t want to skip. We’ve spent all this time getting the ribs tender and juicy, and now we want to give them a chance to settle before we finish them.
The Science: Why Resting Matters
Dr. Schilling explains that resting gives the proteins time to relax and helps the meat retain moisture rather than losing as much of it when you cut into the ribs. It’s the same basic reason we let a steak rest before slicing into it.
That’s especially important after cooking the ribs in Butter Bath & Wrap. We want that buttery, sweet, spicy flavor and moisture working with the meat, not running out onto the cutting board as soon as we unwrap it.
Make the World Championship Rib Sauce
While the ribs rest, mix up the same sauce combination we use for our World Championship ribs.
I start with equal parts Heath Riles BBQ Competition BBQ Sauce and Heath Riles BBQ Sweet BBQ Sauce. For this cook, we used about a cup of each.
Then add about half that amount of Heath Riles BBQ Apple Habanero Glaze. So, if you’re using one cup of each sauce, you’d add about ½ cup of glaze. Blend everything together until smooth.
This mixture gives us sweetness, tang, apple flavor, and a little heat. More importantly, it works with all the flavors we’ve already built instead of covering them up.
Sauce and Finish the Ribs
After the ribs have rested for about 30 minutes, carefully remove them from the foil. Start by saucing the back of each rack, then flip them over and coat the meat side.
At this point, you could eat these ribs and they’d be good, but I like to take them one step further.
Once they’re sauced, lightly dust the top with a little more Heath Riles BBQ Competition BBQ Rub. I call this Memphis Muddy style. We aren’t trying to turn them into dry ribs. It’s just enough seasoning to add another little pop of flavor on top of the sauce.
Put the ribs back onto the Outlaw Patio Smoker for about 5 to 10 minutes. You’re not trying to cook them any further. You just want the sauce to get tacky and bind to the ribs.
The Science: Building That Mahogany Color
This final step is where a lot of the color we’ve been developing throughout the cook really comes together.
As Dr. Schilling explains, the sugars in the sauce caramelize as they heat. Along with the other browning reactions that have occurred throughout the cook, the smoke and ingredients in the rubs and sauce help create that deep reddish-mahogany color we want on a competition rib.
You do have to watch the heat. We want those sugars to caramelize and the sauce to tack up, but we don’t want them to burn.
That’s why these ribs only need another 5 to 10 minutes at the end. Once that sauce is sticky and the color is where you want it, get them off.
The Results
These ribs are exactly what I’m looking for in a World Championship rib. They’ve got that deep mahogany color on the outside, a sticky sauce that has tacked up to the meat, and plenty of moisture on the inside.
But the biggest thing for me is the texture. These aren’t fall-off-the-bone ribs. You can pick a rack up without it falling apart, but when you bite into it, the meat comes away clean and tender. There’s still enough integrity to the meat to give you that perfect competition-style bite.
That’s where everything we talked about with Dr. Wes Schilling throughout this cook comes together. We started with quality pork, broke down the collagen through the cooking process, rendered the fat, added moisture and flavor during the wrap, rested the ribs, and finished them with layers of sauce, glaze, and seasoning.
When Dr. Schilling finally got to try one, he called it the best rib he’d ever eaten. I’d say we did something right.
Science Meets Competition BBQ
One of my favorite parts about cooking with Dr. Schilling was realizing how much science is behind techniques competition pitmasters have learned through experience.
I know that I want to remove the membrane. Science tells us why that elastin can create a tougher eating experience.
I know I like cooking ribs around 300°F. Science explains what’s happening as collagen begins breaking down and eventually converts toward gelatin.
I know there’s a noticeable difference between a rib at 200°F and one around 205°F. Science helps explain why those few degrees can make such a big difference in tenderness.
And I know that layering seasonings, wrapping with moisture, resting, saucing, and tacking that sauce on the pit produces the kind of rib I want to turn in at a contest.
Dr. Schilling summed it up pretty well during the cook: it’s science and art coming together.
Perfect Pairings
If you’re putting together a full BBQ spread, these World Championship ribs go great with a few classic Southern sides.
- Pit-Style BBQ Baked Beans – Sweet, smoky baked beans are about as classic as it gets alongside a rack of ribs.
- Easy Classic Coleslaw – Cool, crunchy coleslaw gives you a fresh contrast to the rich, sweet, and smoky ribs.
- Classic Southern Potato Salad – You can’t have a proper BBQ plate without a good potato salad, and this classic Southern version fits right in.
- Honey Hot Jalapeño Cornbread – A little sweet and a little spicy, this cornbread works great with the layered sweet heat we’ve built into the ribs.
Storing Leftovers
If you happen to have any ribs left, let them cool before transferring them to an airtight container and storing them in the refrigerator.
When you’re ready to reheat them, the main goal is to warm them without drying them out. Keep the ribs covered while reheating so they hold onto as much moisture as possible. You can add a little extra BBQ sauce before serving if you want to freshen them back up.
For larger portions, I prefer reheating the ribs slowly rather than hitting them with a bunch of high heat. We put too much work into getting the texture right to dry them out the next day.
Tips for World Championship Ribs
- Start with quality pork. Look for baby back ribs with a good pinkish-red color and visible marbling. As Dr. Schilling explained, those are signs that can contribute to better flavor and juiciness.
- Remove the membrane. This helps you get a better finished texture and removes connective tissue containing elastin that isn’t going to break down the same way collagen does.
- Don’t be afraid of 300°F. Ribs don’t have to cook at 225°F all day. We run this recipe around 300°F and use the higher cooking temperature to get the ribs tender without stretching the cook out unnecessarily.
- Use the smear test before wrapping. If you can wipe the rub off the surface, give the ribs more time. Once the seasoning has set and doesn’t smear away, you’re ready to wrap.
- Use temperature as a guide, not the final answer. A Thermapen ONE gives you valuable information, but you still need to feel the ribs. Around 203°F to 206°F is where we usually find the tenderness we want, but the push-pull test tells me when a rack is actually ready.
- Let them rest. Give those ribs about 30 minutes in the foil before you sauce and finish them.
- Tack the sauce. Don’t just brush sauce onto finished ribs and serve them. Give them another 5 to 10 minutes on the smoker so that sauce gets sticky and becomes part of the rib.
Final Thoughts
I’ve been cooking competition BBQ for a long time, and a lot of what I do today comes from years of trial and error. You cook something, see what works, make an adjustment, and keep working until you get the result you’re after.
Having Dr. Wes Schilling here gave us the chance to look at those same techniques from another direction.
We could see why removing the membrane matters, what marbling can do for the finished product, how salt interacts with moisture, why collagen breakdown is so important to tenderness, and how temperature, resting, smoke, sugars, and browning all work together.
But at the end of the day, whether you’re cooking at the World Championship or in your backyard, the goal is the same: put out a quality product that you’re proud to serve to your friends and family.
These ribs prove you don’t have to choose between the art of BBQ and the science behind it. Put the two together, layer the flavors, pay attention to your temperatures and tenderness, and you’ve got one heck of a rib.
Equipment and Tools
Outlaw Patio Smoker, Royal Oak Lump Charcoal, Thermapen ONE, Heavy-duty aluminum foil, Sheet pans, Sharp trimming knife, Spray bottle, Basting brush


