WATCH FULL HOW-TO VIDEO HERE!
You’ve had the time of your life cooking on your new Blackstone Griddle, and now, it’s time to clean up! Unlike other grills, the Blackstone Griddle needs a little TLC after every cook. With a few smart techniques, your Blackstone can last years and retain its non-stick surface. In fact, if you show your griddle love, it can age like fine wine!
Follow my easy tutorial, and you’ll have a clean griddle in no time, leaving you more time to kick back with a cold one!
The Importance of Cleaning Your Blackstone
Why should you clean your Blackstone immediately after using it? The answer is simple: When we take care of our grills, they love us back! Neglecting your Blackstone can make it harder to clean, removing its slick, non-stick surface. A few minutes here and there goes a long way.
Be sure to check out my tips for seasoning your Blackstone and storing it safely! These helpful hacks can save you a lot of money and time.
The Supplies
Durable tools make cleaning your Blackstone Griddle a breeze. Here are a few things I always keep on hand for simple clean-up.
Metal spatula. A large metal spatula is great for flipping burgers and cleaning your Blackstone. I use it to gently lift food scraps without scratching the nonstick surface.
Heavy-duty scraper. Some messes are hard to clean, no matter how slick your griddle is! This is why I consider a heavy-duty scraper my go-to tool. It’s a little sharper than your average spatula, allowing you to get every last bit of residue.
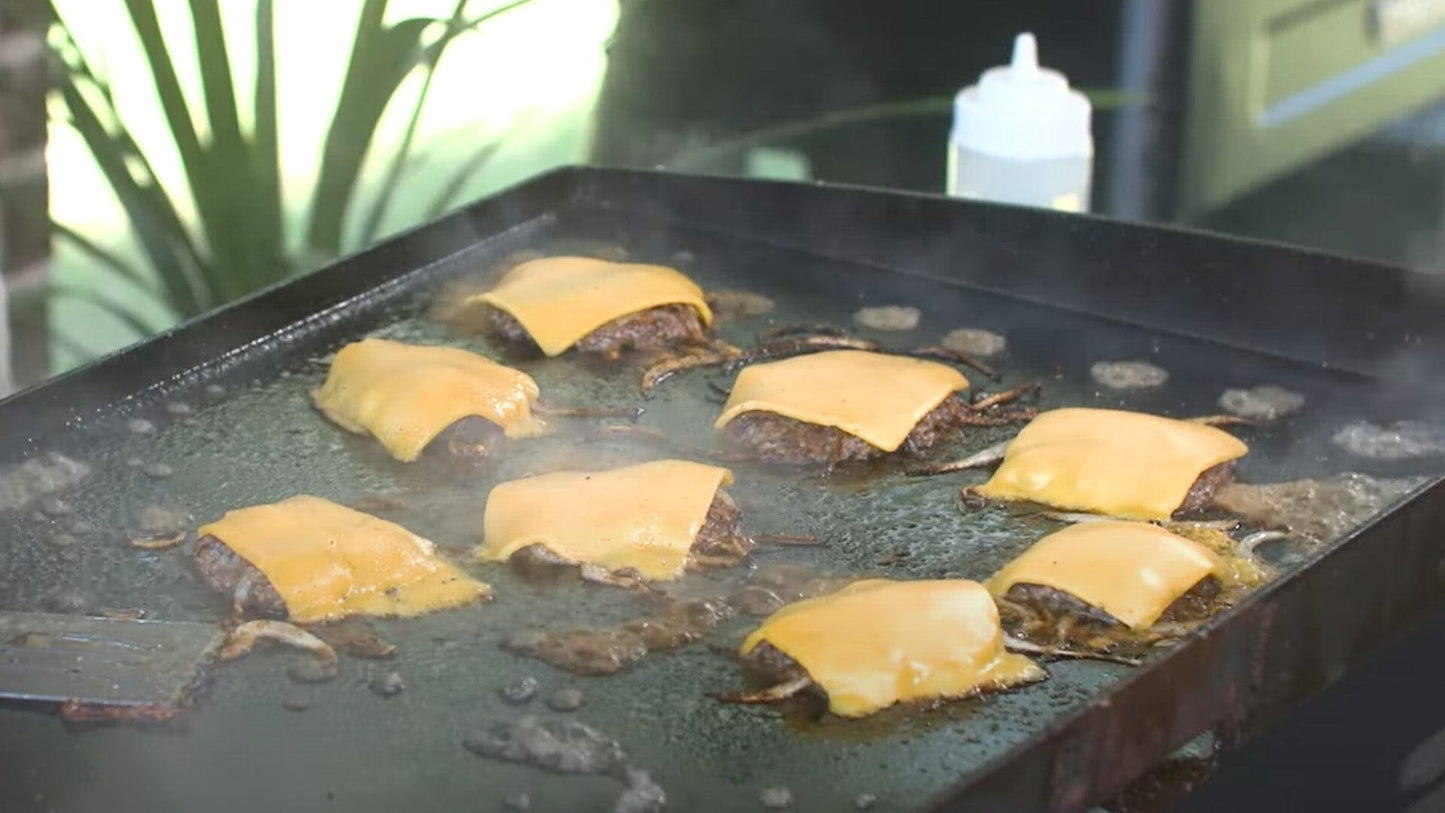
Plastic squeeze bottle. I use plastic squirt bottles to get the steam rolling when melting cheese or releasing grime. Never underestimate the power of steam! It can always get rid of the grossest messes.
Heavy-duty paper towels. It’s important to dry the surface of your Blackstone Griddle thoroughly. I prefer heavy-duty paper towels, like those you use in an automotive shop. These towels leave no moisture behind. Pro tip: Use your scraper to help push the paper towels around. This keeps your hands safe and burn-free.
Bacon-Up Bacon Grease. I can’t get enough of Bacon-Up Bacon Grease! Whether I’m greasing the skillet or sauteing veggies, this is the MVP. This product contains just one ingredient: triple-filtered bacon grease. I love the flavor it gives my food and the slick texture it gives me griddle.
Steps to Clean and Season Your Blackstone Griddle
You can find a visual demonstration of how I clean my grill in the video. For now, here’s a quick reference guide to an effortlessly spotless Blackstone.
1. Get rid of the scraps.
While the grill was still hot, I used a metal spatula to scrape any leftover pieces of food into a garbage bin. Doing this while the griddle is hot prevents the food from sticking to the surface. Be sure to watch the video to see how I set up my “catch-all” pan on the Blackstone.

2. Scrape residue.
Once the food scraps were gone, I used a heavy-duty scraper to remove any leftover residue. You’d be surprised at the grime that hides on your grill!

3. Removing stubborn residue
Removing residue can be difficult, so I used a plastic squirt bottle to wet the grill’s surface. Doing so releases some awesome steam action that loosens any stuck-on residue. I repeated the scraping process one more time to remove the water.

4. Dry the surface
I turned the pit off so it could start the cooling process. Using my scraper and heavy-duty paper towels, I mopped the surface of the Blackstone Griddle until it was dry.

5. Cool and season
Once the Blackstone Griddle cooled down, I rubbed a layer of Bacon-Up Bacon Grease into the surface. I used more heavy-duty paper towels to ensure the griddle was slick but not overly greasy. Voila! A perfectly clean, greased griddle.

Why Season Your Griddle?
Many rookies don’t see a need to season their griddle. After all, the surface is non-stick, right? That couldn’t be further from the truth. Seasoning your Blackstone is crucial even though it has a nonstick surface because it creates a natural, easy-release cooking area and helps prevent rust.
Before you use your griddle for the first time, AND after every use, you must add a protective layer of grease. The grease soaks into the Blackstone’s porous surface, giving it a smooth feel. Over time, the oil bakes onto the griddle, giving you a brilliant, reinforced non-stick coating and improving the flavor of your food.
The process is similar to cast-iron pans: Let it cool, grab a rag and oil, and start rubbing. You can use coconut oil, canola oil, olive oil, or my favorite, BaconUp Bacon Grease.
Storing Your Griddle
Rain, snow, and even excessive heat can be the downfall of your griddle. This is why it’s important to store it properly. Your Blackstone should reside in a cool, dry place where it isn’t exposed to moisture. This prevents rust and saves you a lot of work in the long run.
You can also purchase a heavy-duty cover to keep your Blackstone safe on the go.
Blackstone Griddle Maintenance FAQs:
Do you have to season your Blackstone griddle every time?
A: Yes, you should season your Blackstone griddle every time you use it to maintain the non-stick surface and protect it from rust, but it won’t hurt your griddle if you forget every once in a while.
What are Blackstone griddles made of?
A: Blackstone griddles are primarily made of cold-rolled steel, which provides excellent heat distribution and durability for cooking.
What should a Blackstone griddle look like after seasoning?
A: After seasoning, a Blackstone griddle should have a dark, semi-glossy finish, indicating a well-developed non-stick coating that will improve with continued use and proper maintenance.
Equipment and Tools
Blackstone Griddle, metal spatula, plastic squeeze bottle, heavy-duty scraper, heavy-duty paper towels, BaconUp Bacon Grease.

