
Sometimes you may be in the mood for some awesome ribs but don’t want to mix up a ton of ingredients. Well, this recipe is for those times. Only a handful of ingredients and this recipe still absolutely rocks. Trust the Ribman!
St.Louis Ribs on Gateway Drum | Heath Riles BBQ
I’m partial to ribs. Wet ribs, dry ribs, spicy ribs, mild ribs. I also like easy-to-make ribs. Even if you’re a beginner, you’ll be able to grill up these full-flavored, delicious ribs with no trouble at all. The St. Louis Ribs Recipe is easy-peasy. I added a few spices and some apple juice to the ribs and smoked them hot and fast on my Gateway Drum. Mmm, mmm, you’re gonna love them. Let’s get started!
The Ingredients
As simple as they come, you don’t have to break the bank buying lots of different ingredients to make this dish.
St Louis Ribs. These ribs came to me already trimmed, making it even easier to get them ready to grill.
Heath Riles BBQ Sweet BBQ Rub. This was my very first rub. It’s sweet with a touch of heat at the end to keep you on your toes.
Heath Riles BBQ Butter Bath & Wrap. Buttery, savory goodness that adds moisture to any meat dish and helps it tenderize is what’s going on with this ingredient.
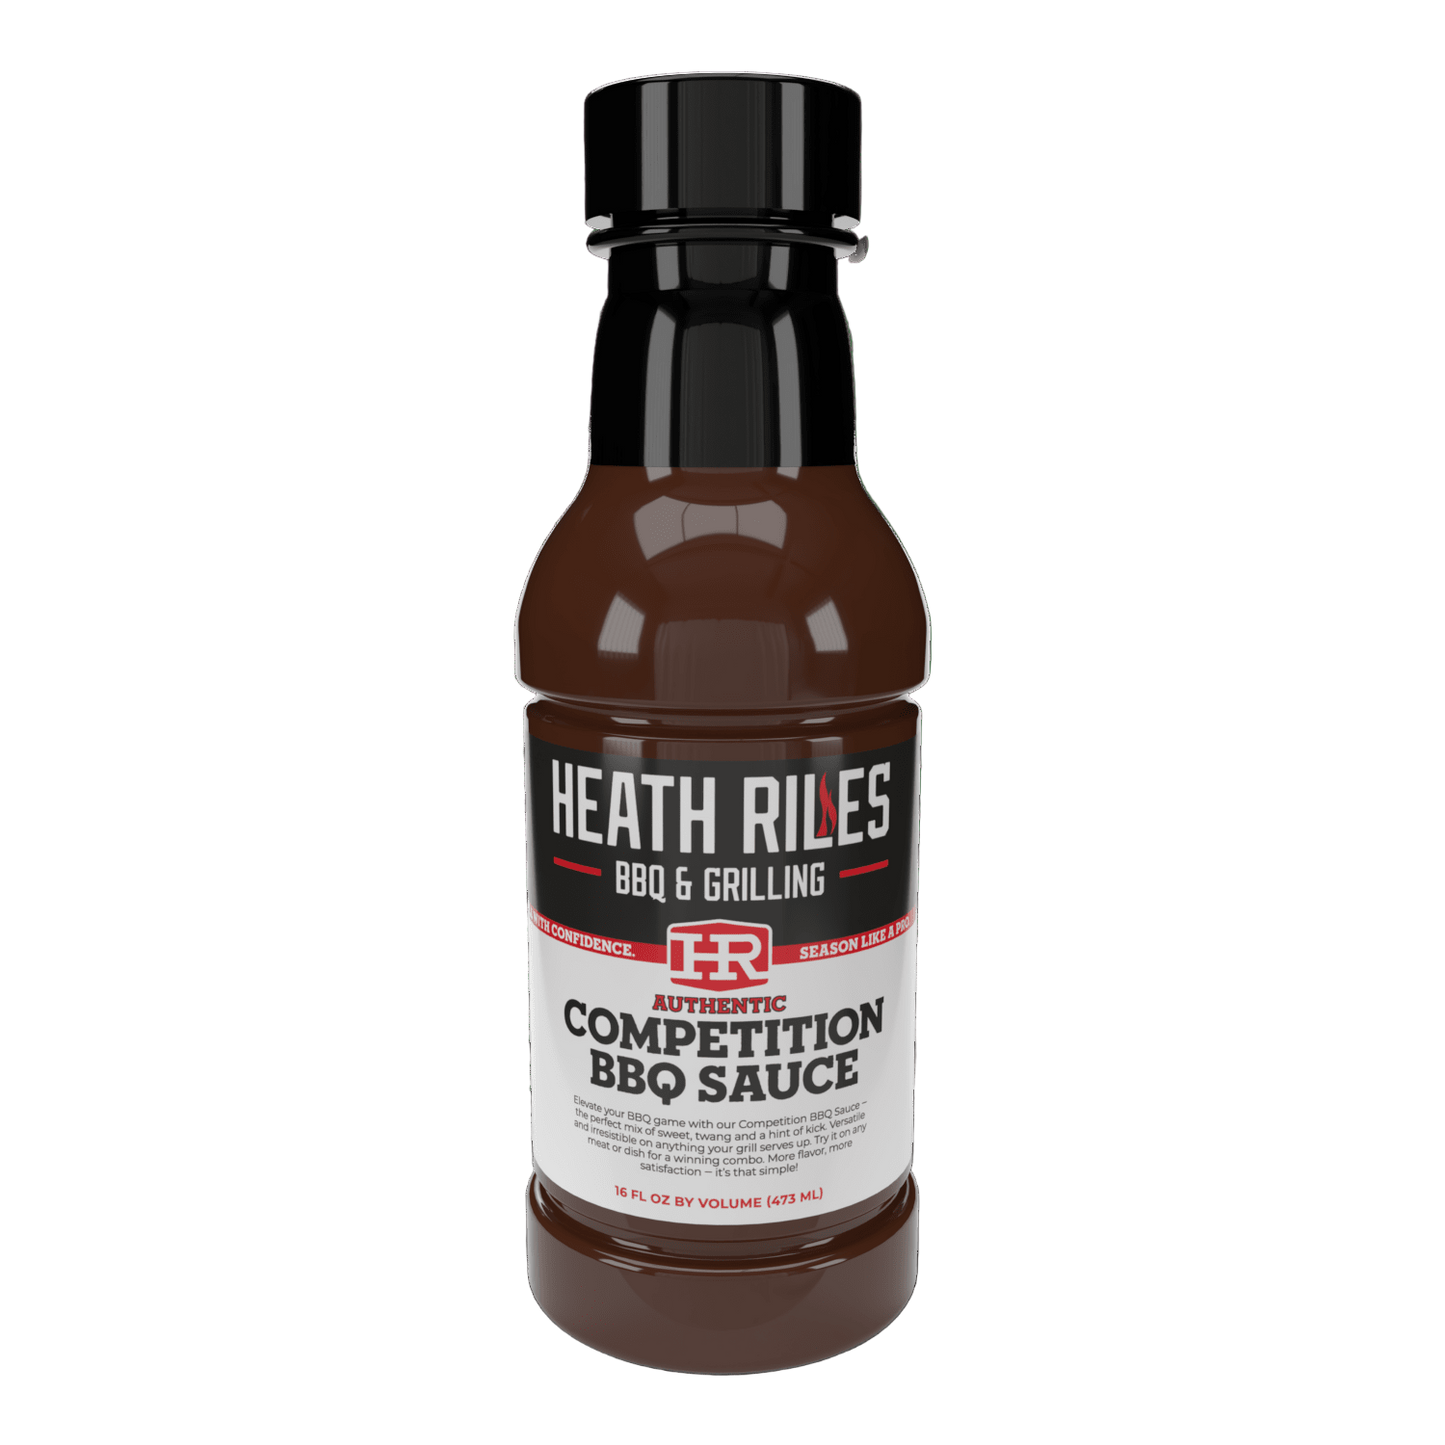
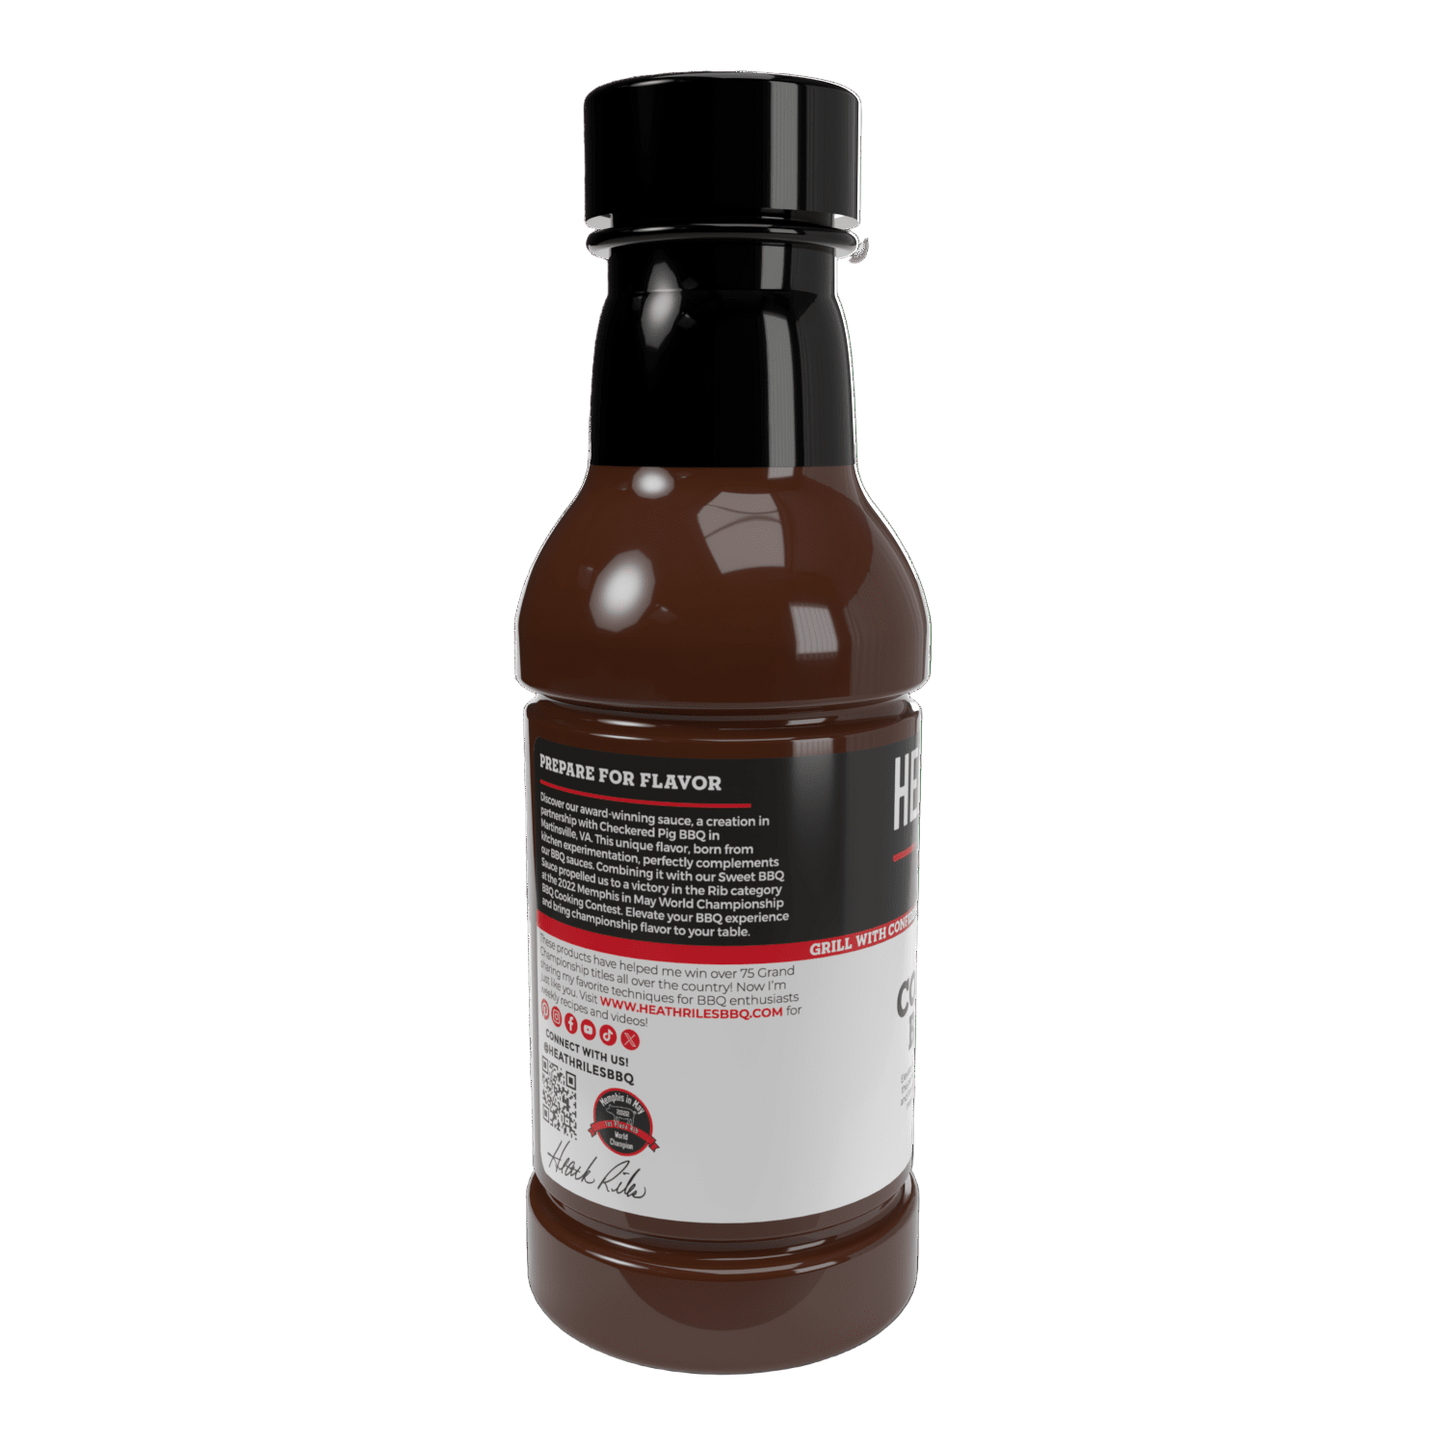
Heath Riles BBQ Sweet BBQ Sauce. If you’ve been looking for a mouthwateringly perfect combination of savory and sweet, there’s no need to look any further.
The Equipment Setup
- Gateway 55 Gallon Drum Smoker. This big boy can handle ribs like a champ. My plan was to get it going to about 300 degrees F for this cook.
- Royal Oak Charcoal and Tumbleweeds.
The Process for Making St. Louis Ribs
I’ve included a step by step tutorial of this recipe in the video and recipe card at the bottom of this page. Here are the highlights of making this dish.
- Unpackage and prepare the ribs. I laid the rack of ribs on my cutting board, turned it over, and cut the thinner side off. I also cut one bone off the other side to get some of the fat off the rack. Since I was keeping things simple, I didn’t worry about cutting every little bit of fat off the ribs like I would if I was cooking for a competition. A little fat dripping on the charcoal will just add more smoky flavor as the ribs are cooking.
- Season the ribs. I started with my Sweet BBQ Rub and gave the rack a nice coating, patting it in as I covered every part of the rib’s surface. Then I turned them over and did the front side.
- Get the smoker ready. While the seasoning was sweating into the ribs, I loaded my Gateway Smoker with some Royal Oak Charcoal and tumbleweeds.
- Put the ribs on the smoker. I laid my racks of ribs directly on the grate and “bunched” them up by pushing each end toward the middle. Squishing them together this way gives you a little more meat between the bones once they’re cooked. Once they were placed, I put the lid on and let the Gateway do its thing.
- Check them. After the ribs had been on the grill for half an hour, I checked the progress. I pulled the lid off and twisted the rack a half-turn. Changing the place of the racks helps them cook more evenly. The fat was starting to sizzle, which was just what I wanted to see. I closed the lid and left them for 30 more minutes.
- Flip them. When the ribs hit an hour of cooking time, I went into the Gateway again and turned them over. I like letting my ribs cook face-side down for about 15 minutes.
- Remove the racks. Using my Thermapen ONE, I clocked the ribs at 175°F at this point. The color was awesome. These ribs were ready to wrap. I removed them from the grill and laid them on a double layer of aluminum foil.
- Bathe and wrap. Mixing my Butter Bath & Wrap with some apple juice, I shook it well in a shaker bottle to get it ready for the ribs. Tenting my foil to prevent spillage, I poured the Butter Bath directly on the back of the rack of ribs. Then I folded the foil, long ends first, over the top of the ribs, loosely rolling it into place. I finished the process by rolling each side of foil up onto the top of the ribs.
- Back on the smoker. I placed the bathed, foil-wrapped racks of ribs back on the grill for about 45 more minutes before checking them. They were hitting an internal temp of 208°F. These ribs are done.
- Let ‘em rest. The ribs needed time to rest to absorb the moisture and continue to tenderize, so I left them in their foil for 30 minutes after pulling them off the grill.
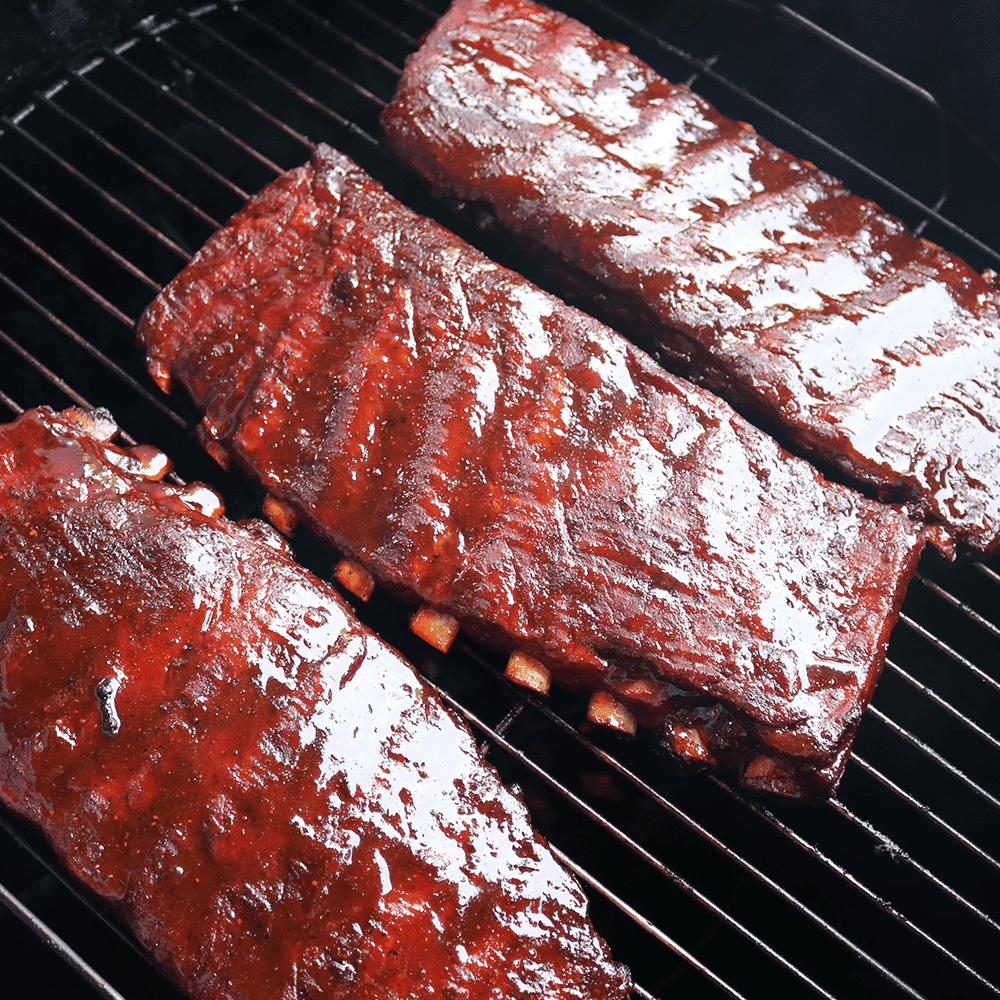
- Unwrap and sauce the racks. I took the foil off the ribs, being careful not to make a big mess with the butter bath in the process. Laying them on the counter, I could see the color was perfect and, oh, they smelled absolutely incredible. I got my bottle of Sweet BBQ Sauce and lightly poured it over each rack, using my silicone basting brush to evenly cover the rib. A few extra shakes of my Sweet Rub onto the sauce, and they were good to go. I turned them over and sauced the other side the same way.
- Tack the sauce. I laid the ribs back on the cooker one last time and gave them 5 minutes more cooking to heat up the sauce and finish everything off.
- Slice and serve. As I was slicing into these ribs, I could tell they were super tender by the way the knife was effortlessly melting through them. They were juicy, too. I chose a piece to sample.
The Results
The first bite knocked my socks off. It’s really incredible this recipe used so few ingredients, because it sure didn’t hinder the taste. They are full of flavor from the seasoning, the butter bath, sauce, and that cherry wood added the perfect layer of smoky flavor. And so tender they practically melted in my mouth. These just can’t be beat.
Serving Suggestions for St. Louis Ribs
Most appetites can eat half a rack of ribs as a meal along with a couple of other sides like baked beans, coleslaw, and mashed potatoes.
Storing Leftovers
Let any leftovers cool completely and store them in a ziplock back or in an airtight bowl in the fridge. Heat them back up on the grill or in the oven or microwave for up to 3 days.
Equipment and Tools
Filet knife, black nitrile gloves, Heath Riles BBQ mixing shaker bottle, cutting board, Thermapen ONE, aluminum foil, Thermoworks Silicone Tools


