
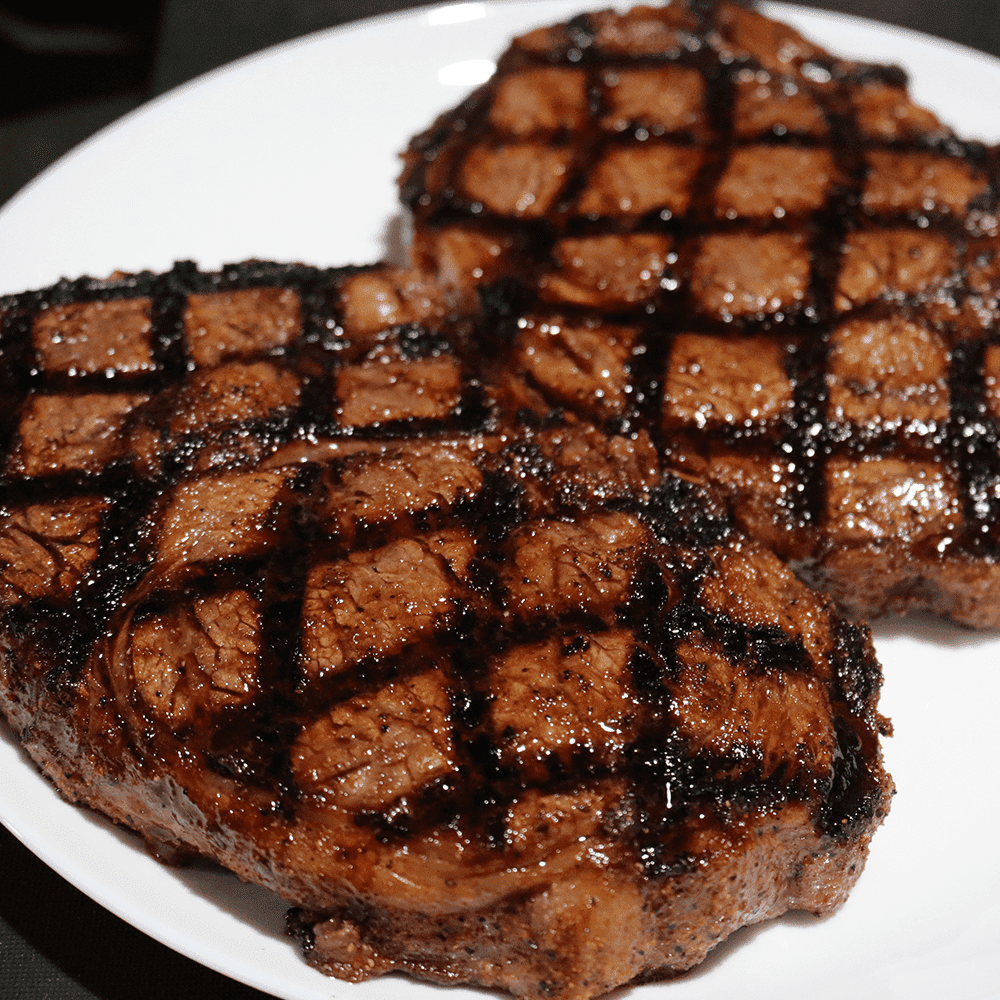
No need to hit up the steakhouse when you can grill your own deluxe Ribeye Steaks at home! Tender cuts of beef are seasoned with Heath Riles BBQ Steak Cooking Combo, a collection of 3 best-selling rubs. The steaks are charred on my favorite PK 360 Grill using Royal Oak Charcoal Hardwood Pellets.
Steaks are awesome because they don’t require a lot of fuss. This tasty meal comes together in just over an hour. My Ribeye Steaks Recipe is great for family dinners, date nights, or to treat yourself after a hard week. You deserve it!
Ribeye Steaks Recipe on the PK 360 Grill | Heath Riles BBQ
Anyone can grill a mouth-watering steak! Steaks are a great option for novice pitmasters because they’re forgiving. The hardest part is nailing down what level of doneness you want. I personally go with a nice medium-rare. Pro tip: If you’re serving this recipe to a crowd, make medium-rare, rare, and well-done steaks. That way, everyone’s happy!
The Ingredients
It’s a great day when you can cook dinner with 5 ingredients. My Ribeye Steaks don’t require a separate marinade, and you can get by without steak sauce! Here’s what you need to add to your shopping cart.
Ribeyes. This particular steak is known for its tenderness and thickness. I prefer ribeyes with marbled fat lines because they melt on the grill, leaving your steak buttery soft. You can find good ribeyes at most local grocers. If you don’t have ribeyes on hand, feel free to use another kind of steak. Your cooking time may vary, but the result will be the same.
Olive oil. This steak recipe called for a mild binder, so I went with olive oil. The oil keeps the seasoning in place without ruining the flavor profile.
Heath Riles BBQ Steak Cooking Bundle. With all the options out there, it’s nice to have the perfect seasoning combo in one convenient package. This bundle features three of my best-sellers. Each rub is totally different but complements the others.
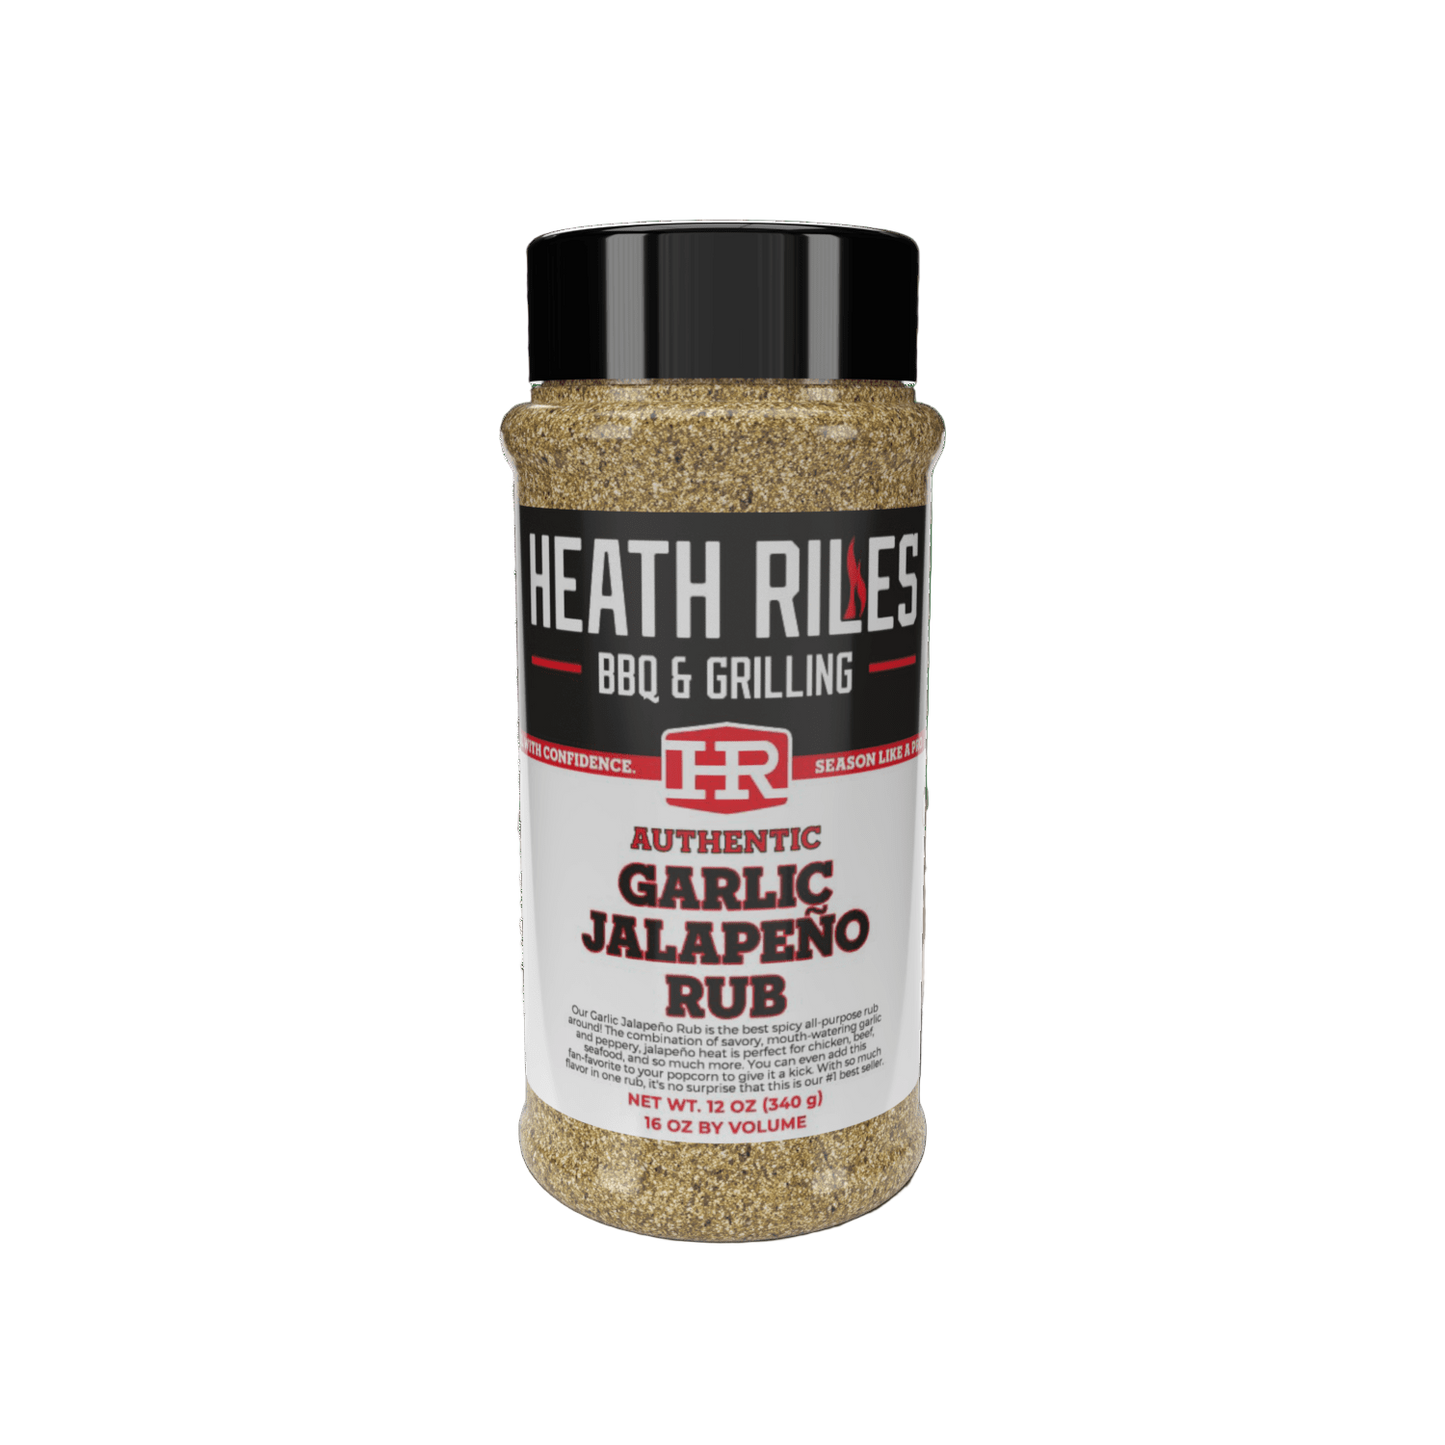
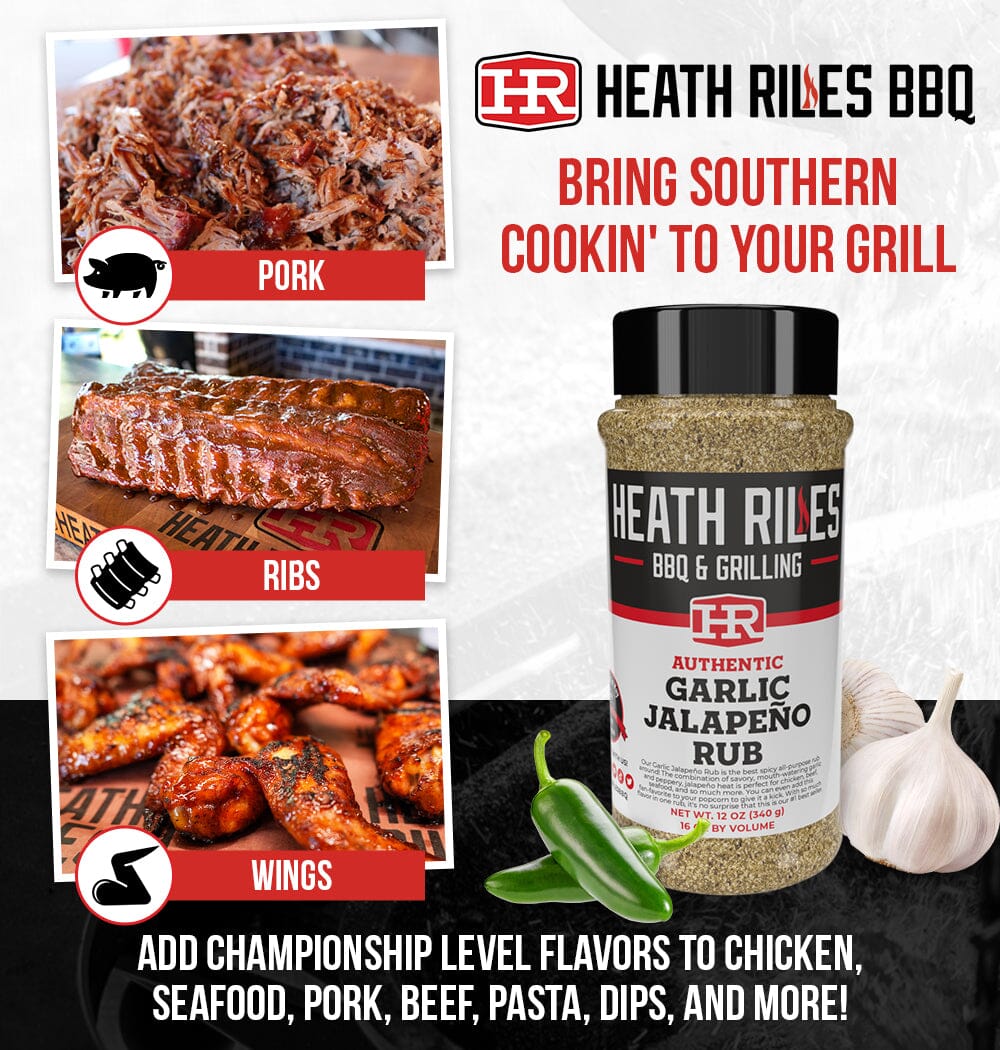
Heath Riles BBQ Garlic Jalapeño Rub is one of the best AP rubs on the market. It features multiple notes of garlic, salt, and pepper. A kick of heat on the back end keeps things interesting. I use this rub on chicken, beef, seafood, and popcorn.
Heath Riles BBQ Pecan Rub has a decadent base and a slightly nutty finish. It adds the perfect twist to pork, beef, ribs, and chicken. This rub features salt, pepper, paprika, brown sugar, and pecan notes. Even those with nut allergies can enjoy this ingredient as it does not contain the real deal.
Heath Riles BBQ Beef Rub was created to complement the natural flavors of beef, not overpower them. This amazing blend contains paprika, chili powder, and garlic. Don’t let the name fool you; I use this rub on chicken, pork, and veggies.
The Smoker Setup
Here’s a list of the main equipment I used to cook these Ribeye Steaks. You can find more of my favorite grilling accessories in the Equipment and Tools section.
- Grill/Smoker. I used the PK 360 Grill for this cook. This setup grills and smokes with ease. This pit is cast aluminum, making it durable and able to hold its heat. I love the adjustable airflow, which makes it easy to craft the perfect steak.
- Charcoal. I stoked the PK 360 Grill with Royal Oak Charcoal and Royal Oak Tumbleweeds. This combination burns hot and fast. I use these pellets often with great results! Royal Oak Charcoal is an excellent brand of clean charcoal without any fillers.
The Process for Making Ribeye Steaks on the PK 360 Grill
You can find a detailed demonstration of this recipe in the video and recipe card at the bottom of this post. For now, here’s a brief overview of how I pulled this recipe together.
- Prep the steaks. I removed the steak from its package and trimmed any excess fat pockets. Then, I drizzled the steak with olive oil and laid down a layer of Heath Riles BBQ Garlic Jalapeño Rub. I flipped the ribeyes and repeated the process on the other side. I finished the steak (for now) with a sprinkle of Heath Riles BBQ Beef Rub. I let the steaks hang out in the fridge for about 20 minutes while the PK 360 Grill fired up.
- Fire up the grill. To heat the pit, I created a two-zone fire. I love doing this because it gives the meat the perfect finish on the inside while getting those gorgeous grill marks on the outside. I slid my GrillGrates over the top and sprayed them with olive oil. I shut the lid and let the grill go until the grates reached about 550℉.
- Sear the ribeyes. Once the grill was nice and hot, I removed my ribeyes from the fridge and added a layer of Heath Riles BBQ Pecan Rub on both sides. Then, I laid my steaks at an angle over the hot zone of the fire, mashing them down against the grates. I shut the grill lid and let the steaks go for 2 minutes, then spun them before searing for 2 more minutes. I flipped the steak and repeated the process on the other side. This gave the ribeyes highly coveted grill marks.
- Finish the steak. At this point, my steaks had cooked for 4 minutes on each side, for a total cook time of 8 minutes. They weren’t to my liking, so I moved them to the cool side of the fire to finish off. I was shooting for an internal temperature of 125℉, which produced a medium steak. I removed the steaks from the grill and placed them on a plate. Then, I tented the meat with heavy-duty aluminum foil to keep it warm. The steaks rested for 10 minutes before I dug in!
The Results
Letting the steak rest allowed the juices to seep back into the meat. The trifecta of steak seasonings ensured every bite was bursting with flavor. These Ribeye Steaks are proof that sometimes less is more! I know you’ll love them just as much as I do.
Serving Suggestions for Ribeye Steaks
To make a complete meal of my Ribeye Steaks, add a Caesar salad, baked potato, and a glass of red wine.
Storing Ribeye Steaks
If you have leftovers, you can store them in the fridge for up to 4 days. You can also freeze the steak for 5-6 months.
Equipment and Tools
PK 360 Grill, Royal Oak Charcoal , Royal Oak Tumbleweeds, olive oil dispenser, metal baking trays, Nechtik BBQ Gloves, wire cooling racks, GrillGrates, heavy-duty aluminum foil, ThermoWorks Thermapen ONE.


