
Ribs hold a special place in my heart. After all, they don’t call me the “Ribman” for nothing! This Sticky Honey Garlic Wings recipe makes delicious, messy, need-a-napkin for-every-bite ribs that are melt-in-your-mouth tender. Once you taste ‘em, you’ll wonder why you haven’t been grilling these bad boys for years. Follow along to learn how to make this crowd-pleasing dish.
Sticky Honey Garlic Ribs | Heath Riles BBQ
Sometimes, dry ribs are great choices. They’re flavorful and delicious, and they let me really appreciate the smoky flavor from the grill. Other times, I want some saucy ribs. Today, I’m making a flavorful, savory, saucy rib recipe that I know is going to be an instant favorite. Let’s get started!
The Ingredients
Cheshire ribs. I’ve used these ribs plenty of times, and they grill up so, so good.
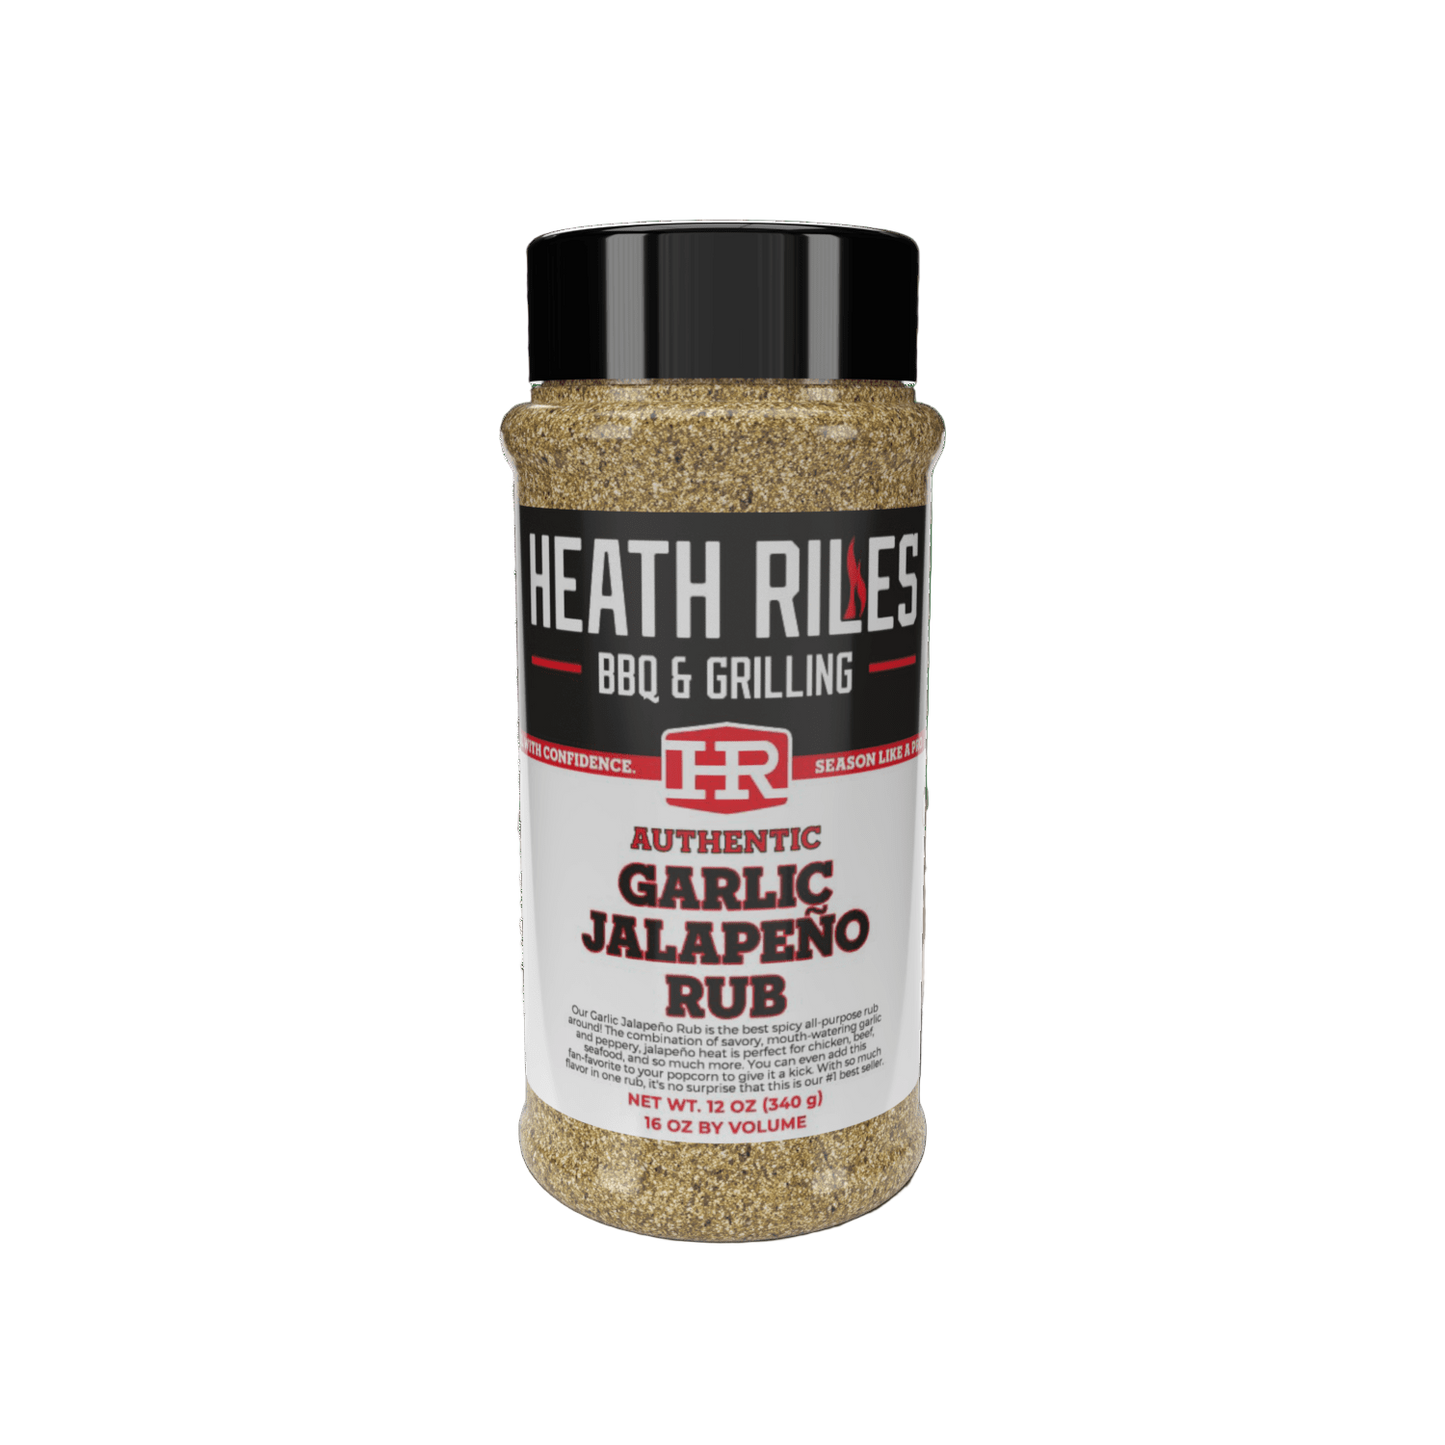
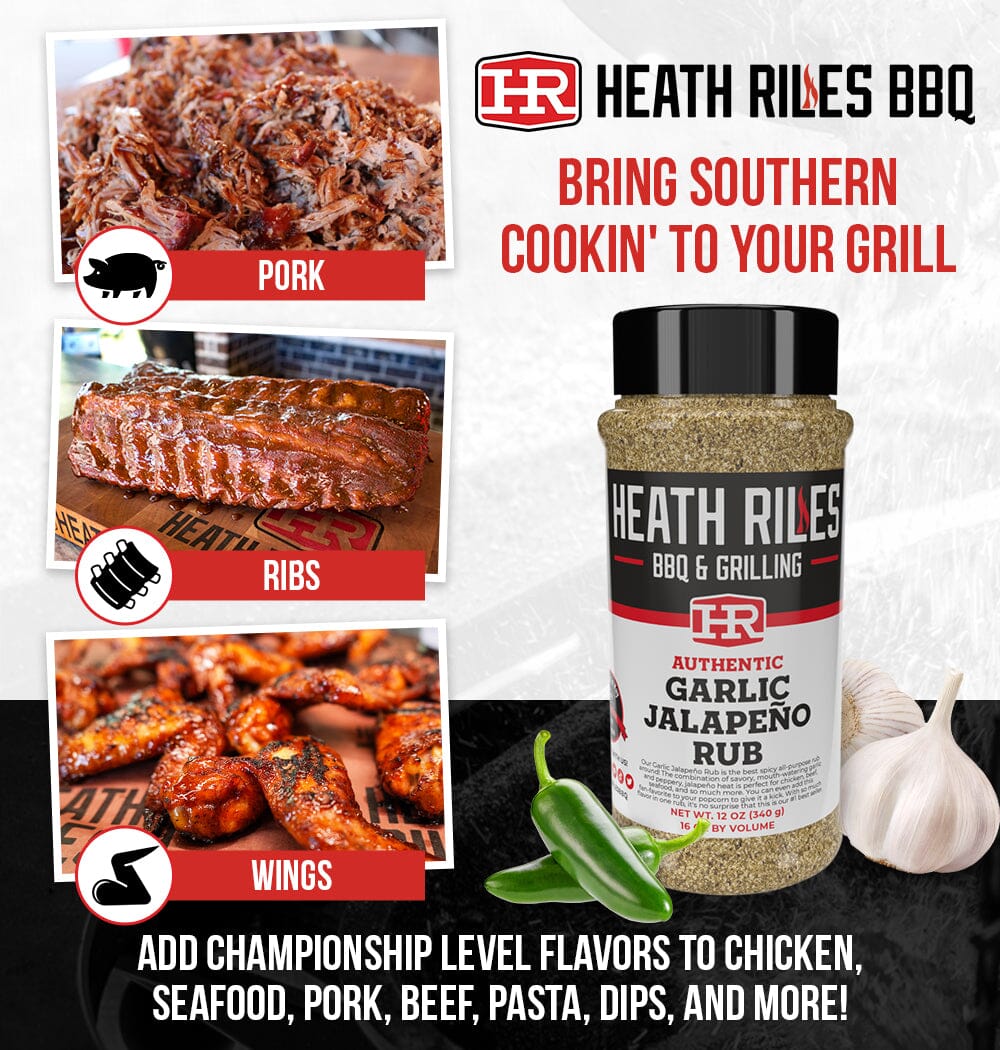
Heath Riles BBQ Garlic Jalapeño Rub. The best ribs have more than one flavor that combines to create a mouthful of tastiness. This rub adds some heat (but not too much) and savory hints of garlic into every bit.
Heath Riles BBQ Honey Chipotle Rub. Honey and high-quality chipotle peppers create a uniquely sweet, smoky, spicy rub with this one. Yum.
Honey. Savory, sweet, and the perfect ingredient for making anything with the word “sticky” in the recipe name.
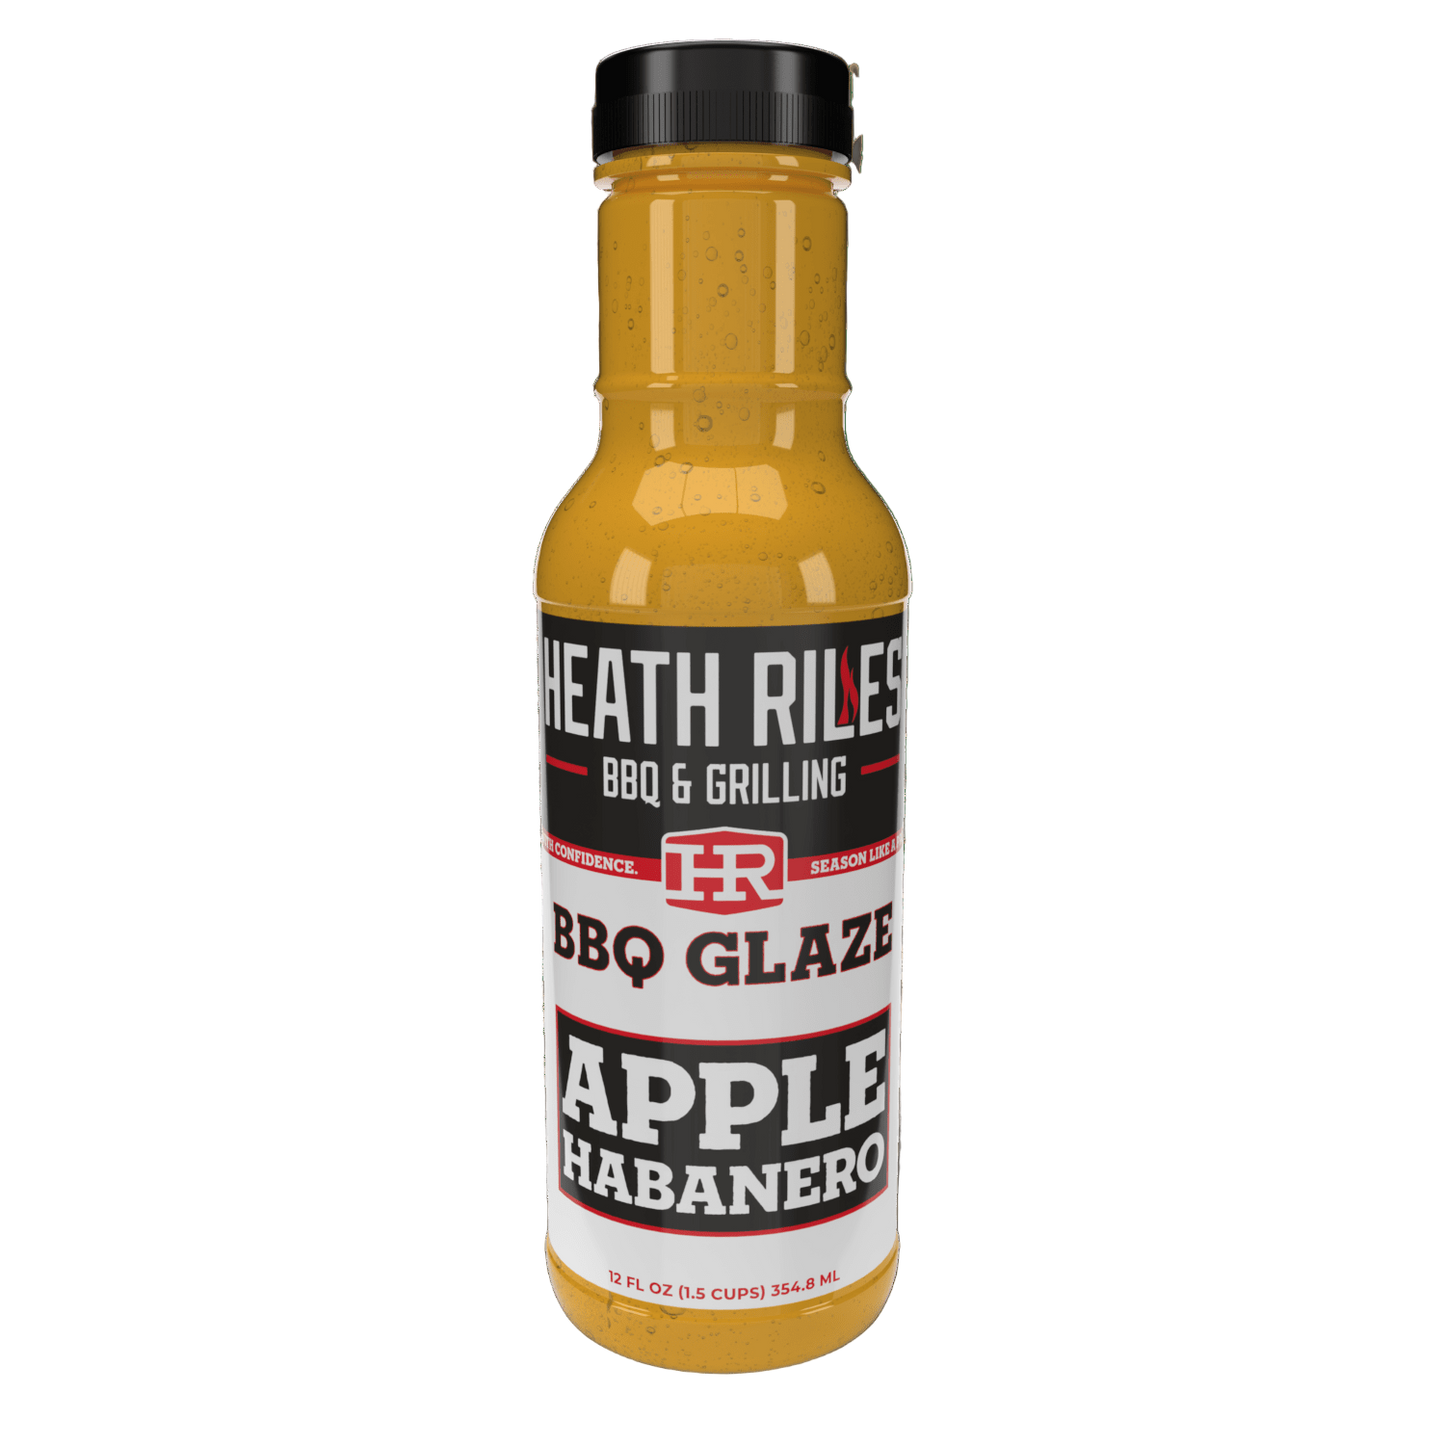
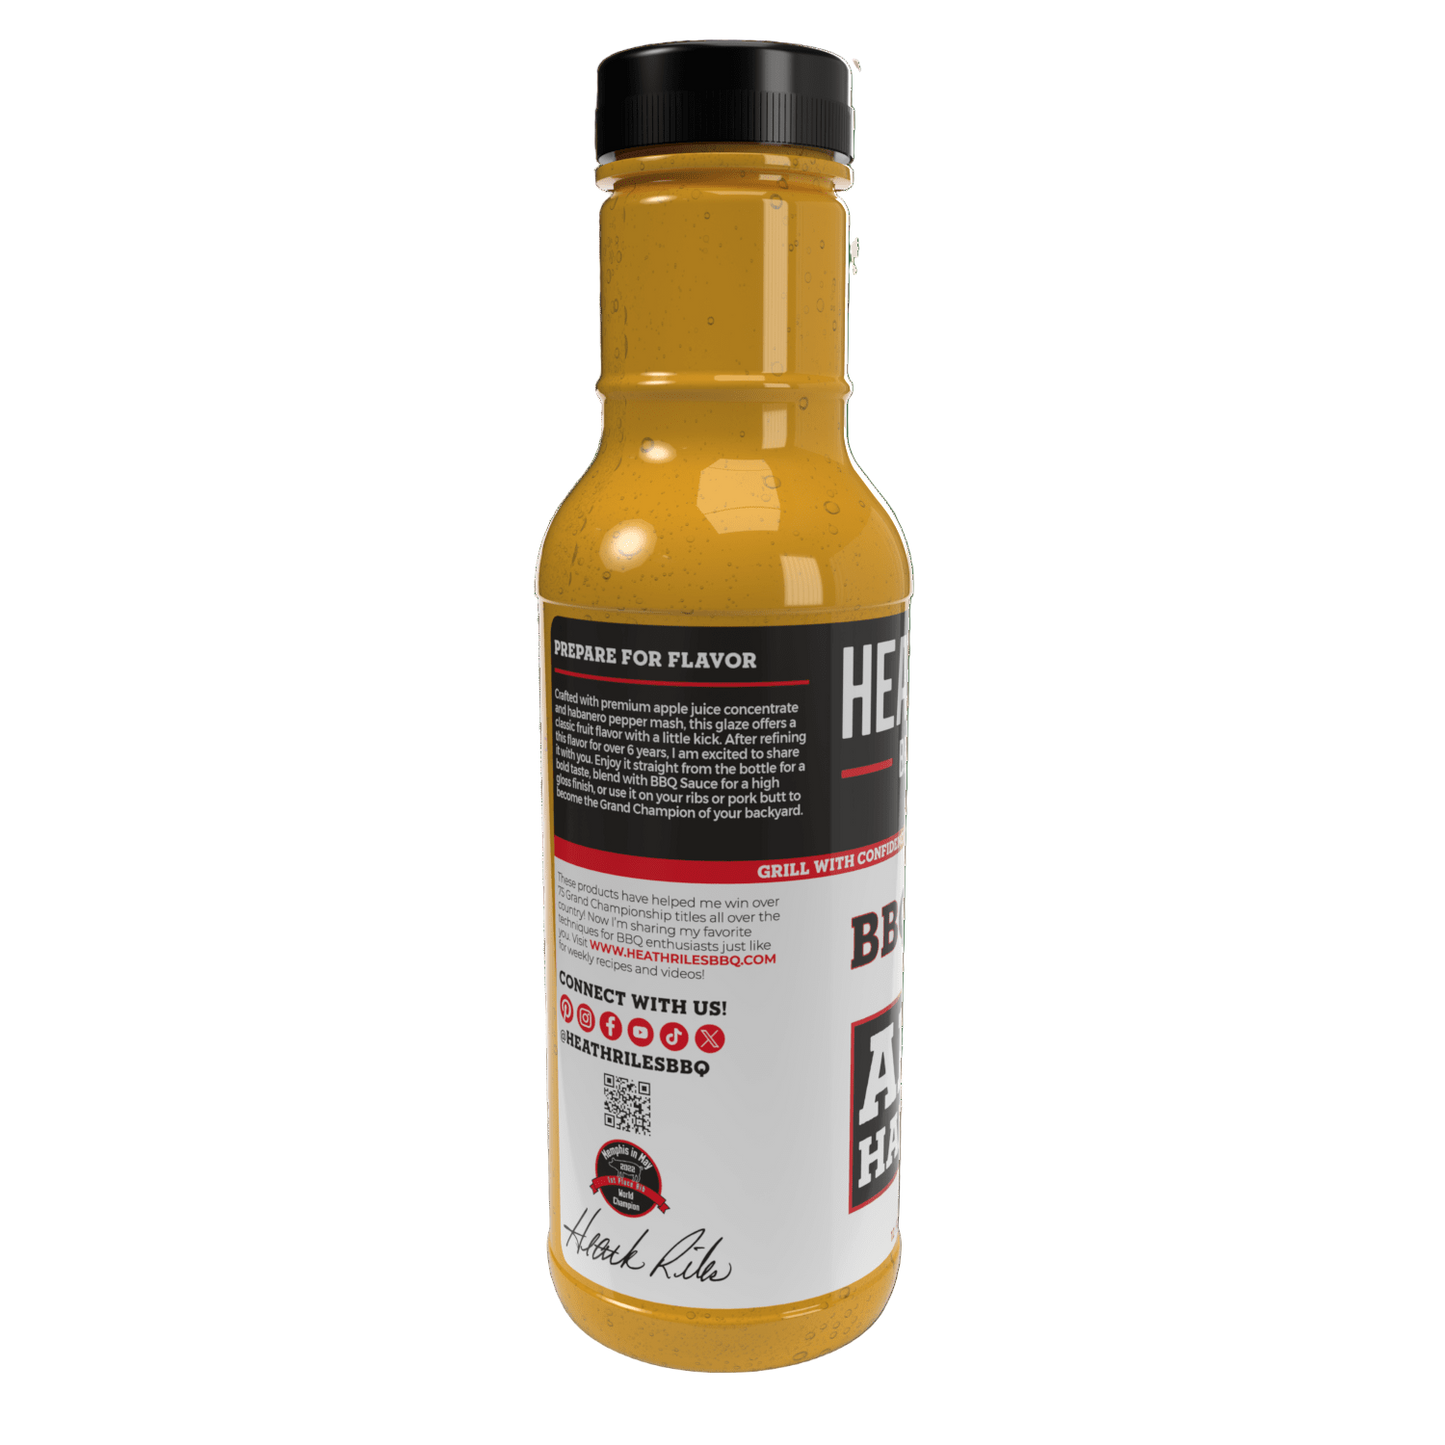
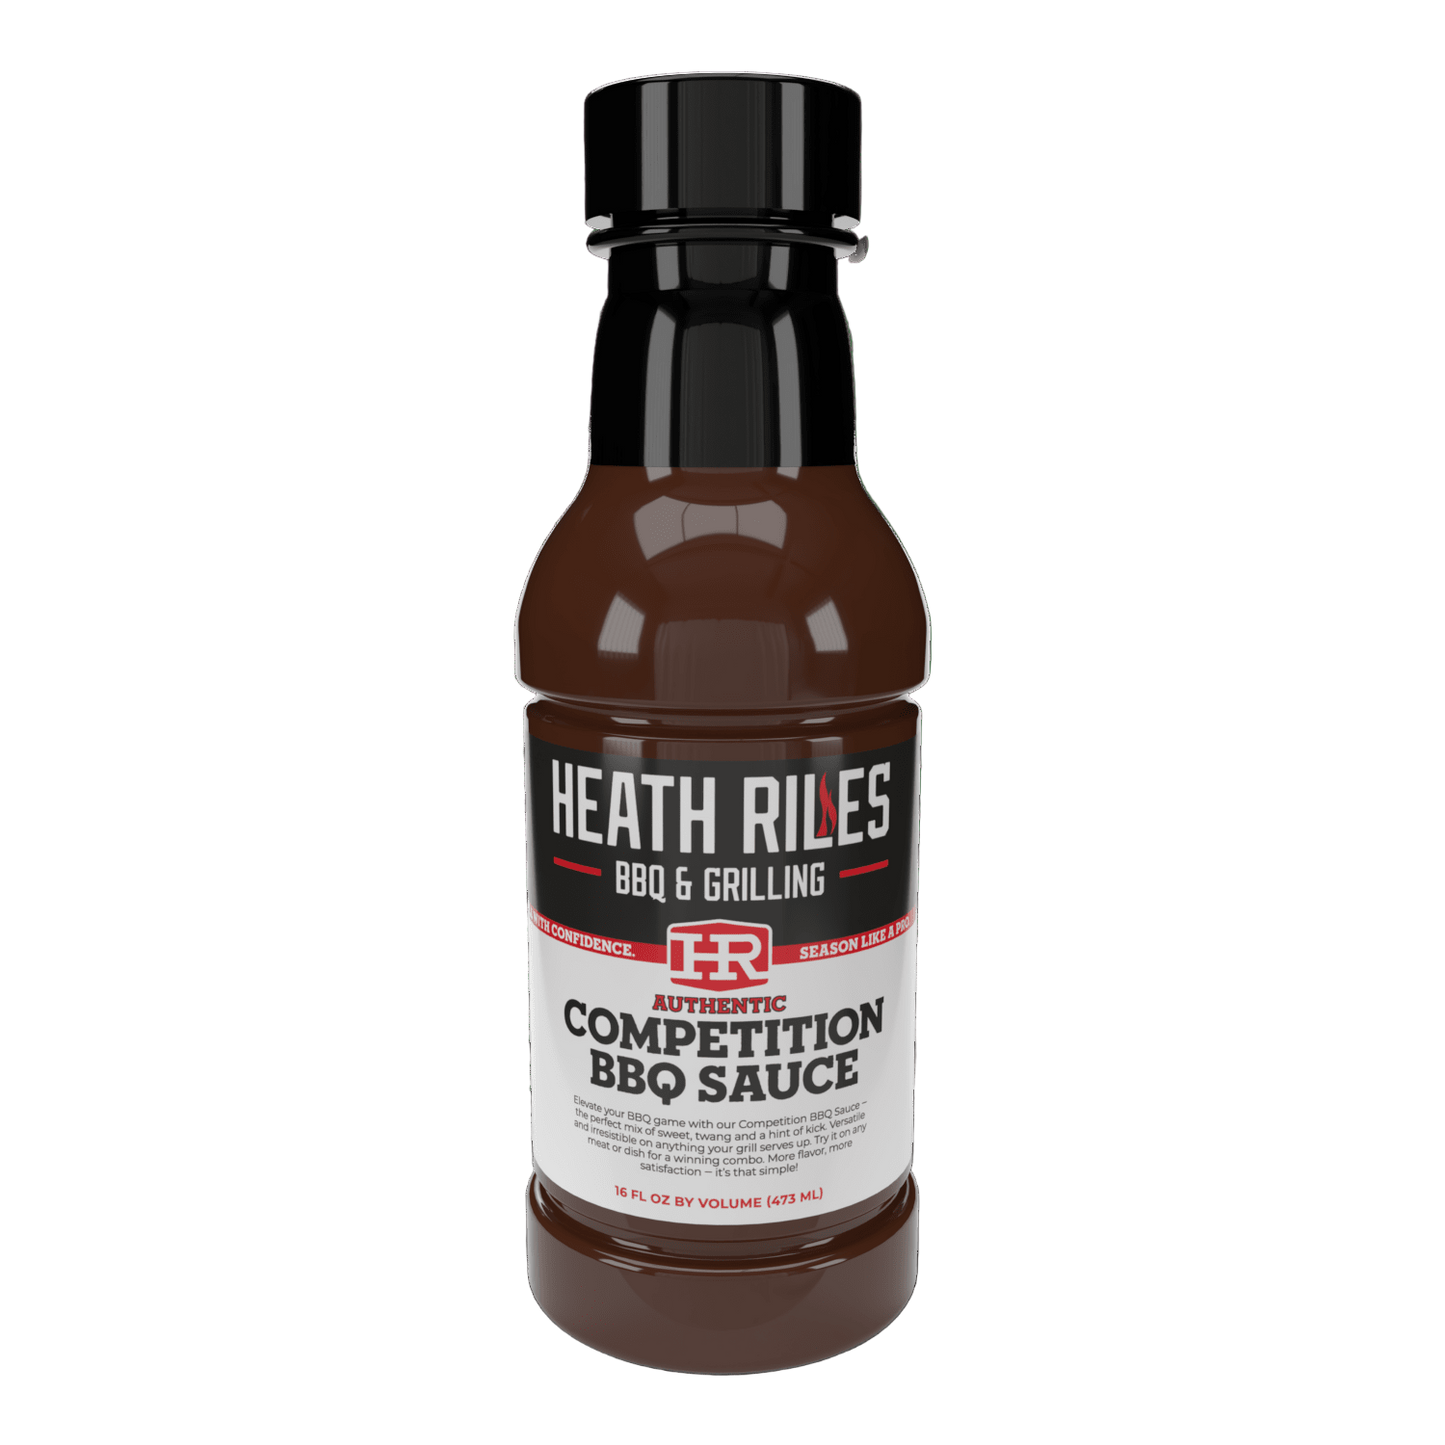
Heath Riles Tangy Vinegar BBQ Sauce. This award-winning sauce adds hints of vinegar and other flavors to really make ribs (and lots of other dishes) pop with a tangy taste.
Lime juice. Fresh-squeezed lime juice adds some citrus to the flavor profile, amping all the other flavors up.
Rib glaze. I combined Heath Riles BBQ Sweet BBQ Sauce, lime juice, ginger, minced garlic, honey, and soy sauce for this delicious glaze.
Chopped green onion. This works as a colorful garnish.
The Equipment Setup
The Traeger Pellet Grill preheated to 275 degrees F with Pecan Pellets was my choice for grilling and smoking this rib recipe.
The Process for Making Sticky Honey Garlic Ribs
I recorded the step-by-step process for making this recipe and uploaded the video to my Youtube channel. Head over there if you want to follow along with me.
Here’s how I made my Sticky Honey Garlic Ribs.
- Unpackage the racks. I got my ribs out of the pack and dried them off. These ribs aren’t super thick, which is one of the things I like about them. If you try to grill ribs that are too thick, the loin meat (on top) is always going to get dried out by the time you get the ribs cooked. These ribs are already trimmed down evenly, unlike some of the other ribs I see in the grocery stores that have a big hunk of fat on one end.
- Trim and skin them up. Using a sharp knife, I trimmed the flap meat off the ends. Then I pushed my thumb under the membrane covering the rib’s surface and pulled it off. Once I had the first one trimmed and skinned, I moved on to the next rib.
- Add the seasoning. I started with a layer of my Garlic Jalapeño Rub, applying it generously because I wanted a spicy bite to the recipe. This rub adds really flavorful back-end heat, too. I went back over them with my Honey Chipotle Rub because I love how they add to the flavor profile of any dish. These seasonings are going to mix and mingle to make a full-flavored taste, especially once I add the sauce. It’s making me hungry just thinking about it!
- Let them sweat. I left both racks on my pan for about 15 minutes to allow the spices to sweat into the meat.
- Put them on the grill. My Traeger Pellet Grill was preheated to 275 degrees F and ready to cook these bad boys up nice. I laid both racks longways directly on the grates. I “squished” the rib ends toward the middle a bit, so the cooked ribs would be a little meatier between each rib. I closed the lid and let them do their thing for about 2 hours.
- Spray and remove the ribs. When I opened the lid, these ribs looked and smelled delicious. I used the “smear test” to check the seasoning, and it wasn’t wiping off the ribs. I lightly sprayed them with water, then moved them to a pan.
- Sauce ‘em and wrap ‘em. Taking heavy-duty aluminum foil, I laid two big pieces out flat and drizzled some honey onto the foil. Then I followed it up with a generous pour of my Tangy Vinegar BBQ Sauce and the squeezed juice from one lime. Laying the first rib down, I repeated the honey, BBQ sauce, and lime juice process on the back of it. Once it was sauced, I pulled the long edges of the aluminum foil together above the rib and rolled them down. Then I folded the ends over onto the rack. I sauced and wrapped the other slab, and headed back to the grill.
- Grill the wrapped racks. These ribs went back on the grill to cook for about 2 more hours.
- Make the glaze. A glaze is going to be the finishing touch for my sticky rib recipe. I mixed all the ingredients together and reduced it over low heat until it thickened.
- Remove and unwrap. Once the ribs were cooked, I removed them from the grill and let them rest for about 15 minutes before unwrapping them.
- Add the glaze. I used a basting brush to add the glaze onto the ribs, making sure to coat them good. I did the same thing to the other side, then I poured the remaining glaze right on the ribs. They went back on the grill for a final 15 minutes.
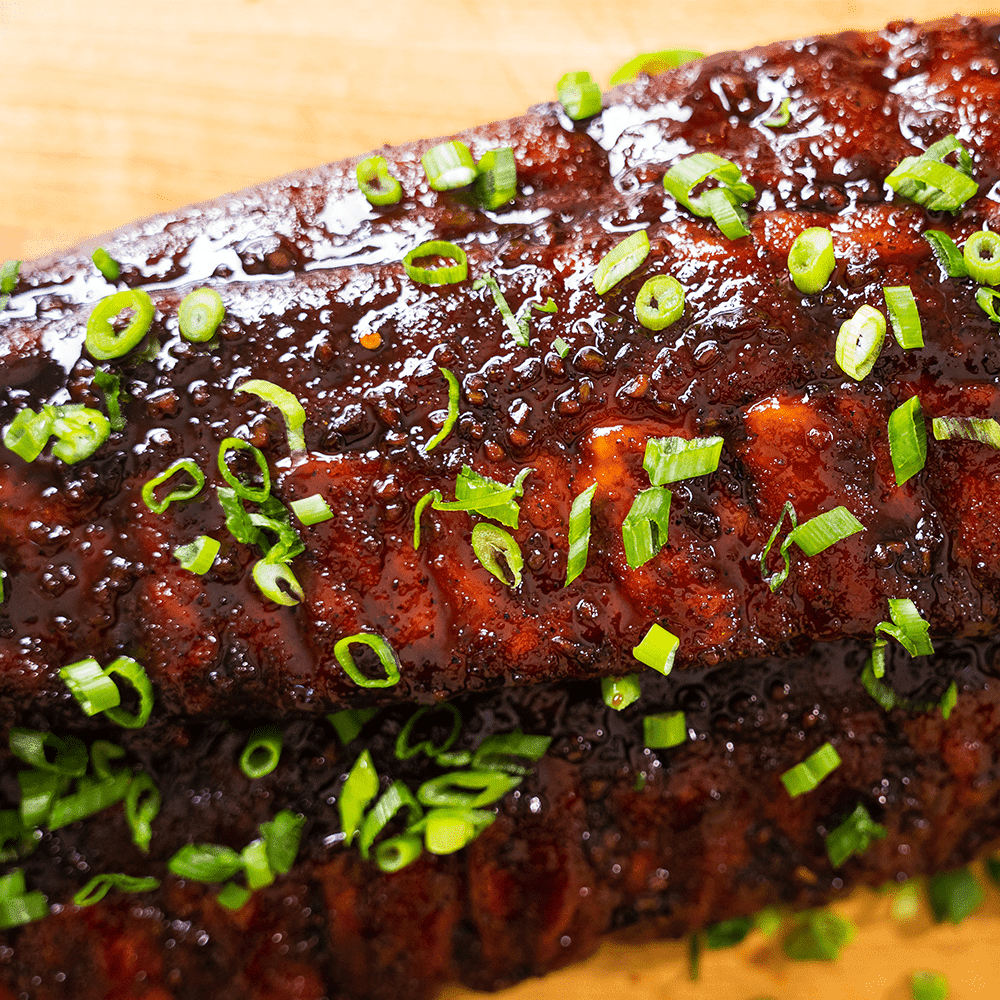
- Remove and taste. The ribs cooled for about 15 minutes. I added some chopped green onion on the tops for color, then they were ready to sample.
The Results
These ribs turned out better than I even expected. Absolutely mouthwatering! The stickiness and big tastes of garlic, sweetness, and the punch of heat made every bite amazing. The lime added a touch of citrus, and the glaze made it even more flavorful. These ribs are nothing but damn good, and I’ll be using this sauce on some chicken wings one day soon.
Serving Suggestions for Sticky Honey Garlic Ribs
I usually plan for a rack of ribs to serve 1-2 people with some sides like baked beans or coleslaw.
Storing Leftovers
Leftover ribs can be stored in either ziplock bags or airtight bowls in the fridge for up to 3 days. Heat them up in the stove or microwave.
Equipment and Tools
Traeger Pellet Grill, Pecan Pellets, Metal tongs, Large aluminum pan, Sharp knife, Heavy-duty aluminum foil, Saucepan (for the glaze), Basting brush, Spray bottle, Cutting board


