

Do you want to learn how to make a bowl of chili that’ll make any cold night feel like a victory lap? My Venison Chili with NEW Heath Riles Chili Seasoning is exactly what you need. This hearty, no-bean chili is thick, flavorful, and full of that Mississippi-style kick that warms you up from the inside out.
Venison Chili on the Stove Top | Heath Riles BBQ
This recipe is built for hunters, weekend cooks, and anyone who loves bold flavor in a simple, one-pot meal. The secret ingredient? A special blend I’ve been working on — my brand-new Heath Riles Chili Seasoning. It’s not available yet, but I’ve been testing it in my kitchen, and it’s shaping up to be everything I wanted in a chili mix — smoky, spicy, and balanced with deep, rich flavor.
If you’re ready to try a new twist on a classic, grab your YETI Cast Iron Ranch Pan, fire up your stove, and let’s make some chili magic.
The Ingredients
Here’s everything you’ll need to build a pot of award-worthy venison chili, and why each ingredient matters:
- Ground Venison (3 pounds). Lean and flavorful, venison is the star of this chili. It’s hearty, protein-packed, and perfect for slow simmering. Since it’s naturally low in fat, we’ll add a little help from sausage to balance it out.
- Hot Breakfast Sausage (1 pound). I used Tennessee Pride, but any spicy breakfast sausage will do. The sausage adds fat and flavor to the venison, keeping the chili juicy instead of dry.
- Onions (3, diced). These add sweetness and texture that round out the spice. Dice them on the smaller side so they melt into the sauce as it simmers.
- Minced Garlic (4–8 tablespoons). Use as much as you like! I go for about four tablespoons, but double that if you’re a garlic lover.
- Bear & Burtons W Sauce (2 tablespoons). Adds umami depth and that signature “something extra” that makes chili taste slow-cooked.
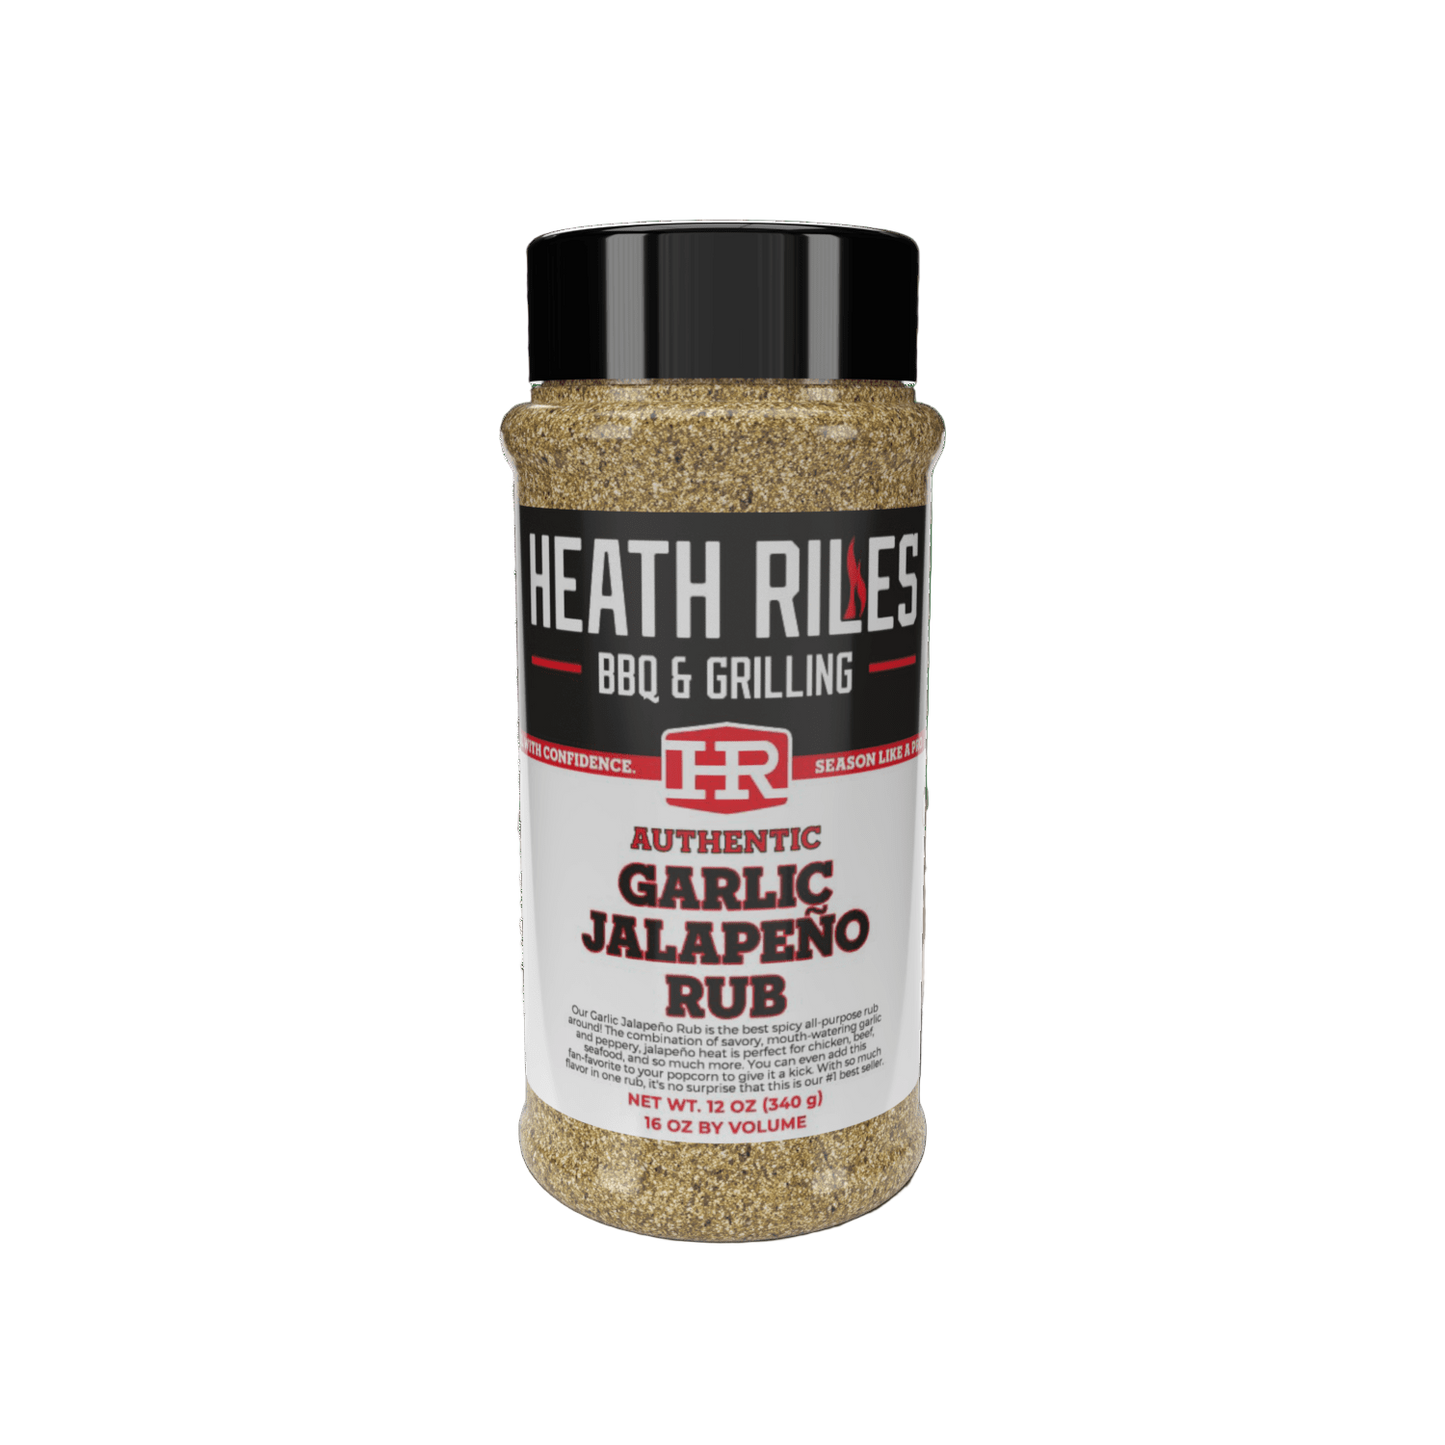
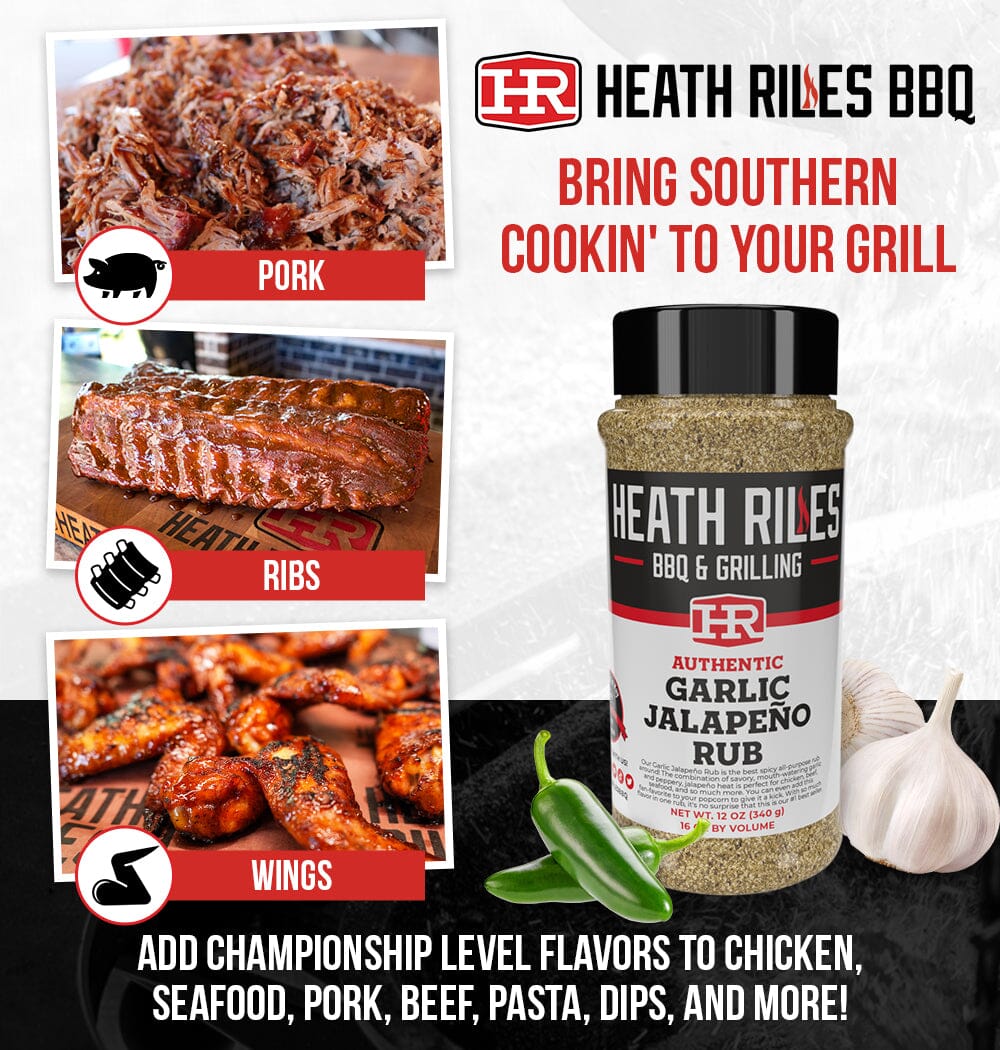
- Heath Riles BBQ Garlic Jalapeño Rub. A little of this rub helps amplify the savory flavor base and complements the sausage and venison beautifully.
- Heath Riles Chili Seasoning (5 tablespoons). This new blend is still in development, but it’s what makes this chili pop. Expect rich chili flavor, warm spice, and a little back-end heat that lingers just right.
- Red Gold Chili-Ready Diced Tomatoes (2 cans). These give your chili body and natural sweetness.
- Rotel (2 cans). Adds a little zip and texture. The mix of tomatoes and green chilies builds that perfect balance of tang and heat.
- Tomato Sauce (1 small can). For smooth consistency and richness.
- Diced Peppers (1–2, your choice). Jalapeños, poblanos, or bell peppers all work great. They add heat and color.
- Beer (10 oz Mini Budweiser). A full Mini Budweiser gives this chili depth and just the right malt sweetness to balance the spice. It brings a subtle richness that ties the whole pot together.
The Cook
You don’t need fancy equipment for this one — just a solid pan, some time, and good ingredients. Here’s how I bring it all together:
Step 1: Brown the Meat
Start by heating your YETI Cast Iron Ranch Pan over medium-high heat. Add a spoonful of Bacon Up or cooking oil — the venison needs a little help since it’s lean. Once the pan’s hot, add the ground venison and sausage, breaking them up as they cook.
Keep stirring until the meat is browned and crumbly, about three-quarters done. Don’t drain it — you’ll want to keep every drop of that flavor.
Step 2: Build the Flavor Base
Add your diced onions and let them cook down until they soften and turn translucent. Then, stir in your minced garlic and Worcestershire sauce. The kitchen should already be smelling incredible.
Now it’s time to start layering in flavor. Sprinkle in a little Heath Riles BBQ Garlic Jalapeño Rub, then add five heaping tablespoons of the new Chili Seasoning. Stir it all together and let the spices bloom for a minute. That’s how you build that deep, rich chili base.
Step 3: Add the Liquids
Next, pour in two cans of chili-ready tomatoes, two cans of Rotel, and a small can of tomato sauce. Mix well to combine everything.
Now for the fun part — the Mini Budweiser. Pour in the full 10-ounce can and let it sizzle as it hits the pan. This step brings a subtle bitterness and richness that balances all the meaty flavor from the venison and sausage.
If you like, add your diced peppers at this point. They’ll cook down and blend right into the chili.
Step 4: Simmer Low and Slow
Once everything’s mixed together, turn the heat to low and let the chili simmer for at least two hours. The longer it goes, the better it gets. Stir occasionally to prevent sticking and let those flavors mingle.
As it cooks, the sauce thickens, the venison tenderizes, and your house fills with that unmistakable chili aroma. You’ll know it’s ready when the color deepens and the sauce clings to your spoon.
Pro Tip: If you want to take this to the smoker, it adapts easily. Pour the chili into a Dutch oven, set it in your pit at 250°F, and let it absorb a kiss of hickory smoke for an extra layer of depth.
The Results
When it’s done, ladle a big scoop into a bowl and let it cool just a bit before digging in. I top mine with shredded cheese, a dollop of sour cream, and fresh diced jalapeños. A handful of oyster crackers or cornbread on the side seals the deal.
Every bite is smoky, spicy, and savory with just enough heat to keep you coming back for more. The venison gives it a wild, earthy depth, the sausage adds richness, and that Heath Riles Chili Seasoning ties it all together with the perfect balance of warmth and complexity.
Serving Suggestions
This chili stands tall on its own, but here are a few ways to round out your meal:
- Honey Hot Jalapeño Cornbread: For a sweet-and-spicy bread perfect for sopping up every drop of chili.
- Grilled Cheese Sandwich: For the ultimate comfort combo.
- Cold Beer: Because nothing pairs better with chili than a frosty one.
Storing and Reheating
If you somehow have leftovers, this chili tastes even better the next day. Store it in an airtight container in the fridge for up to five days, or freeze for up to three months.
To reheat, warm it on the stovetop over low heat, stirring occasionally. Avoid the microwave if you can — it’s worth the extra few minutes to bring it back the right way.
Final Thoughts
This Venison Chili is everything I love about cold-weather cooking — bold, simple, and downright satisfying. Whether you’re fresh off the hunt or just craving something hearty, it’s the kind of meal that brings everyone to the table.
And stay tuned — that Heath Riles Chili Seasoning is coming soon. Once it hits the shelves, it’ll be your new go-to for any pot of chili, taco night, or stew. It’s the perfect blend for anyone who loves deep, rich chili flavor with a little Mississippi heat.
Until then, grab your YETI Cast Iron Ranch Pan, your venison, and a Mini Budweiser — and make this chili your new favorite.
Equipment and Tools
YETI Cast Iron Ranch Pan, Wooden Spoon, Measuring Spoons, Sharp Knife, Cutting Board


